.svg)
Safety enforcement is where liability, city permits, and revenue all meet. A single sidewalk-riding complaint can put your permit on a watch list, and a pile of tipped-over scooters blocking a curb ramp is the fastest way to lose a city contract. Every crash claim that lands on you instead of the rider is money straight off your bottom line. The good news is that the four highest-leverage controls (a helmet check at unlock, an end-of-ride parking check, sidewalk detection with throttle cut, and speed zones) are all configurable from your operator dashboard. You decide whether and how hard to enforce each one, and each is yours to configure from the dashboard.
This lesson walks each control from the rider's first tap to the operator settings you tune. It is written for the operator making money decisions: you pay when riders pay on Levy's revenue-share model (Managed is 20% of GMV, 15% at 100 to 249 active vehicles on qualifying annual terms, with a $250 per month platform minimum and $0 upfront), so these controls are worth configuring with care: they give you the tools to enforce your own safety and parking policy and to document compliance for your city and your insurer. Before you touch a toggle, read the scope section next: a common mistake operators make is assuming the vision suite does more than it does.
Operational guidance, not legal, insurance, or compliance advice
Safety enforcement touches your city permits, liability exposure, and insurance posture. The settings, limits, and speed values here are starting points, not a substitute for professional advice. Confirm helmet rules, speed limits, and parking requirements against your local ordinances and permit terms, and review your liability and insurance posture with qualified counsel and your carrier before you rely on any configuration described here.
What Levy Vision does, and what it does not
Levy Vision is the computer-vision safety suite built into Levy Fleets. It comes in three layers, and you configure each one independently per subaccount:
- Helmet verification at unlock. A rider selfie before the ride starts, checked for a visible helmet.
- Parking-pose validation at ride end. The end-of-ride photo is graded for four things: is the vehicle upright, is it inside the parking zone, is it blocking the sidewalk, and is the photo clear enough to tell.
- Sidewalk detection with throttle-cut enforcement. On-vehicle hardware flags sidewalk riding, and a policy you configure decides how to respond, up to cutting the throttle.
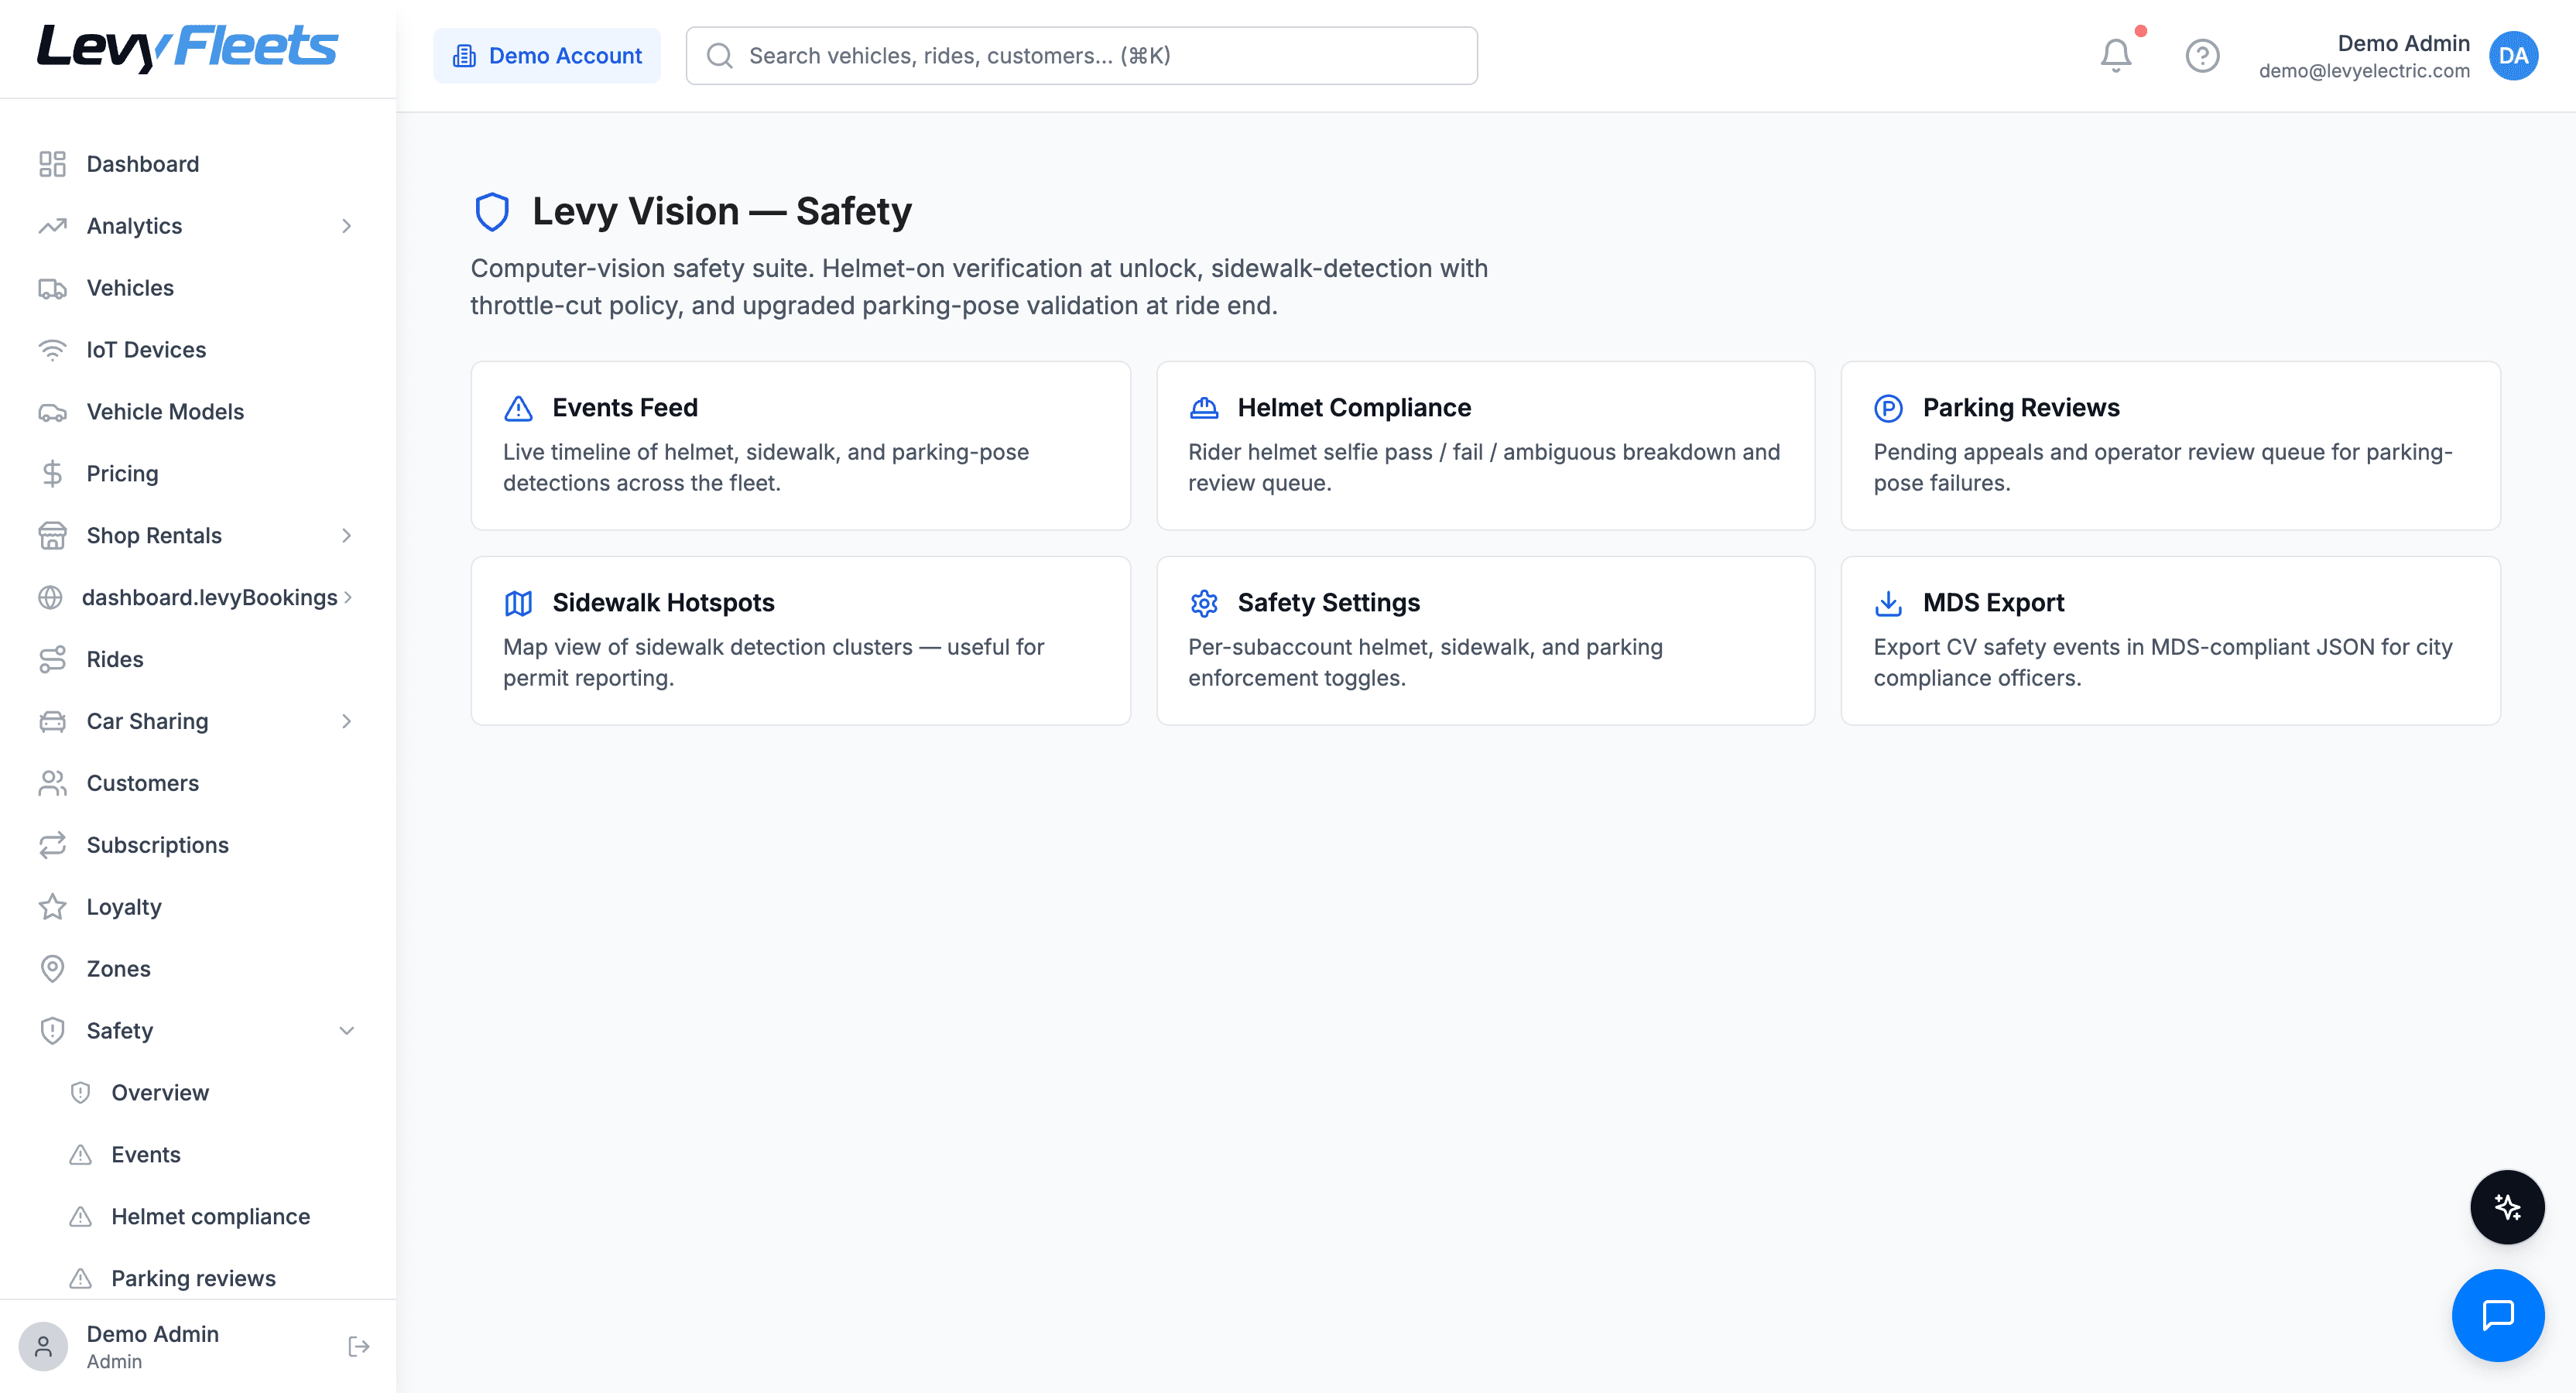
Levy Vision is compliance only. It is not a damage or DVIR tool.
Levy Vision checks helmets, parking pose, and sidewalk riding. That is the entire micromobility scope. It does not inspect vehicles for damage, does not run a DVIR or return inspection, and does not produce condition reports or damage claims for scooters, bikes, or mopeds. Vehicle-condition and damage documentation is a separate capability that lives only in the car-sharing product, never in Levy Vision. If you need scratch and dent tracking on your scooters, that is a work-order and inspection process, not a Vision feature.
For the full suite reference, keep the Levy Vision safety suite overview open while you configure. Everything below assumes you tune these controls per subaccount from Dashboard > Safety > Safety settings.
Helmet verification at unlock
The helmet check runs before the ride meter starts. The rider taps Unlock, a selfie screen appears with a head-circle overlay, they take the photo, and the classifier returns one of three outcomes:
- Pass. A helmet is visible at high or medium confidence, and the unlock proceeds normally.
- Retake. No helmet detected, or low confidence, so the rider is asked to try again up to your max-attempts setting.
- Ambiguous. The model cannot tell either way, and what happens next depends on strict mode.
The three settings that matter
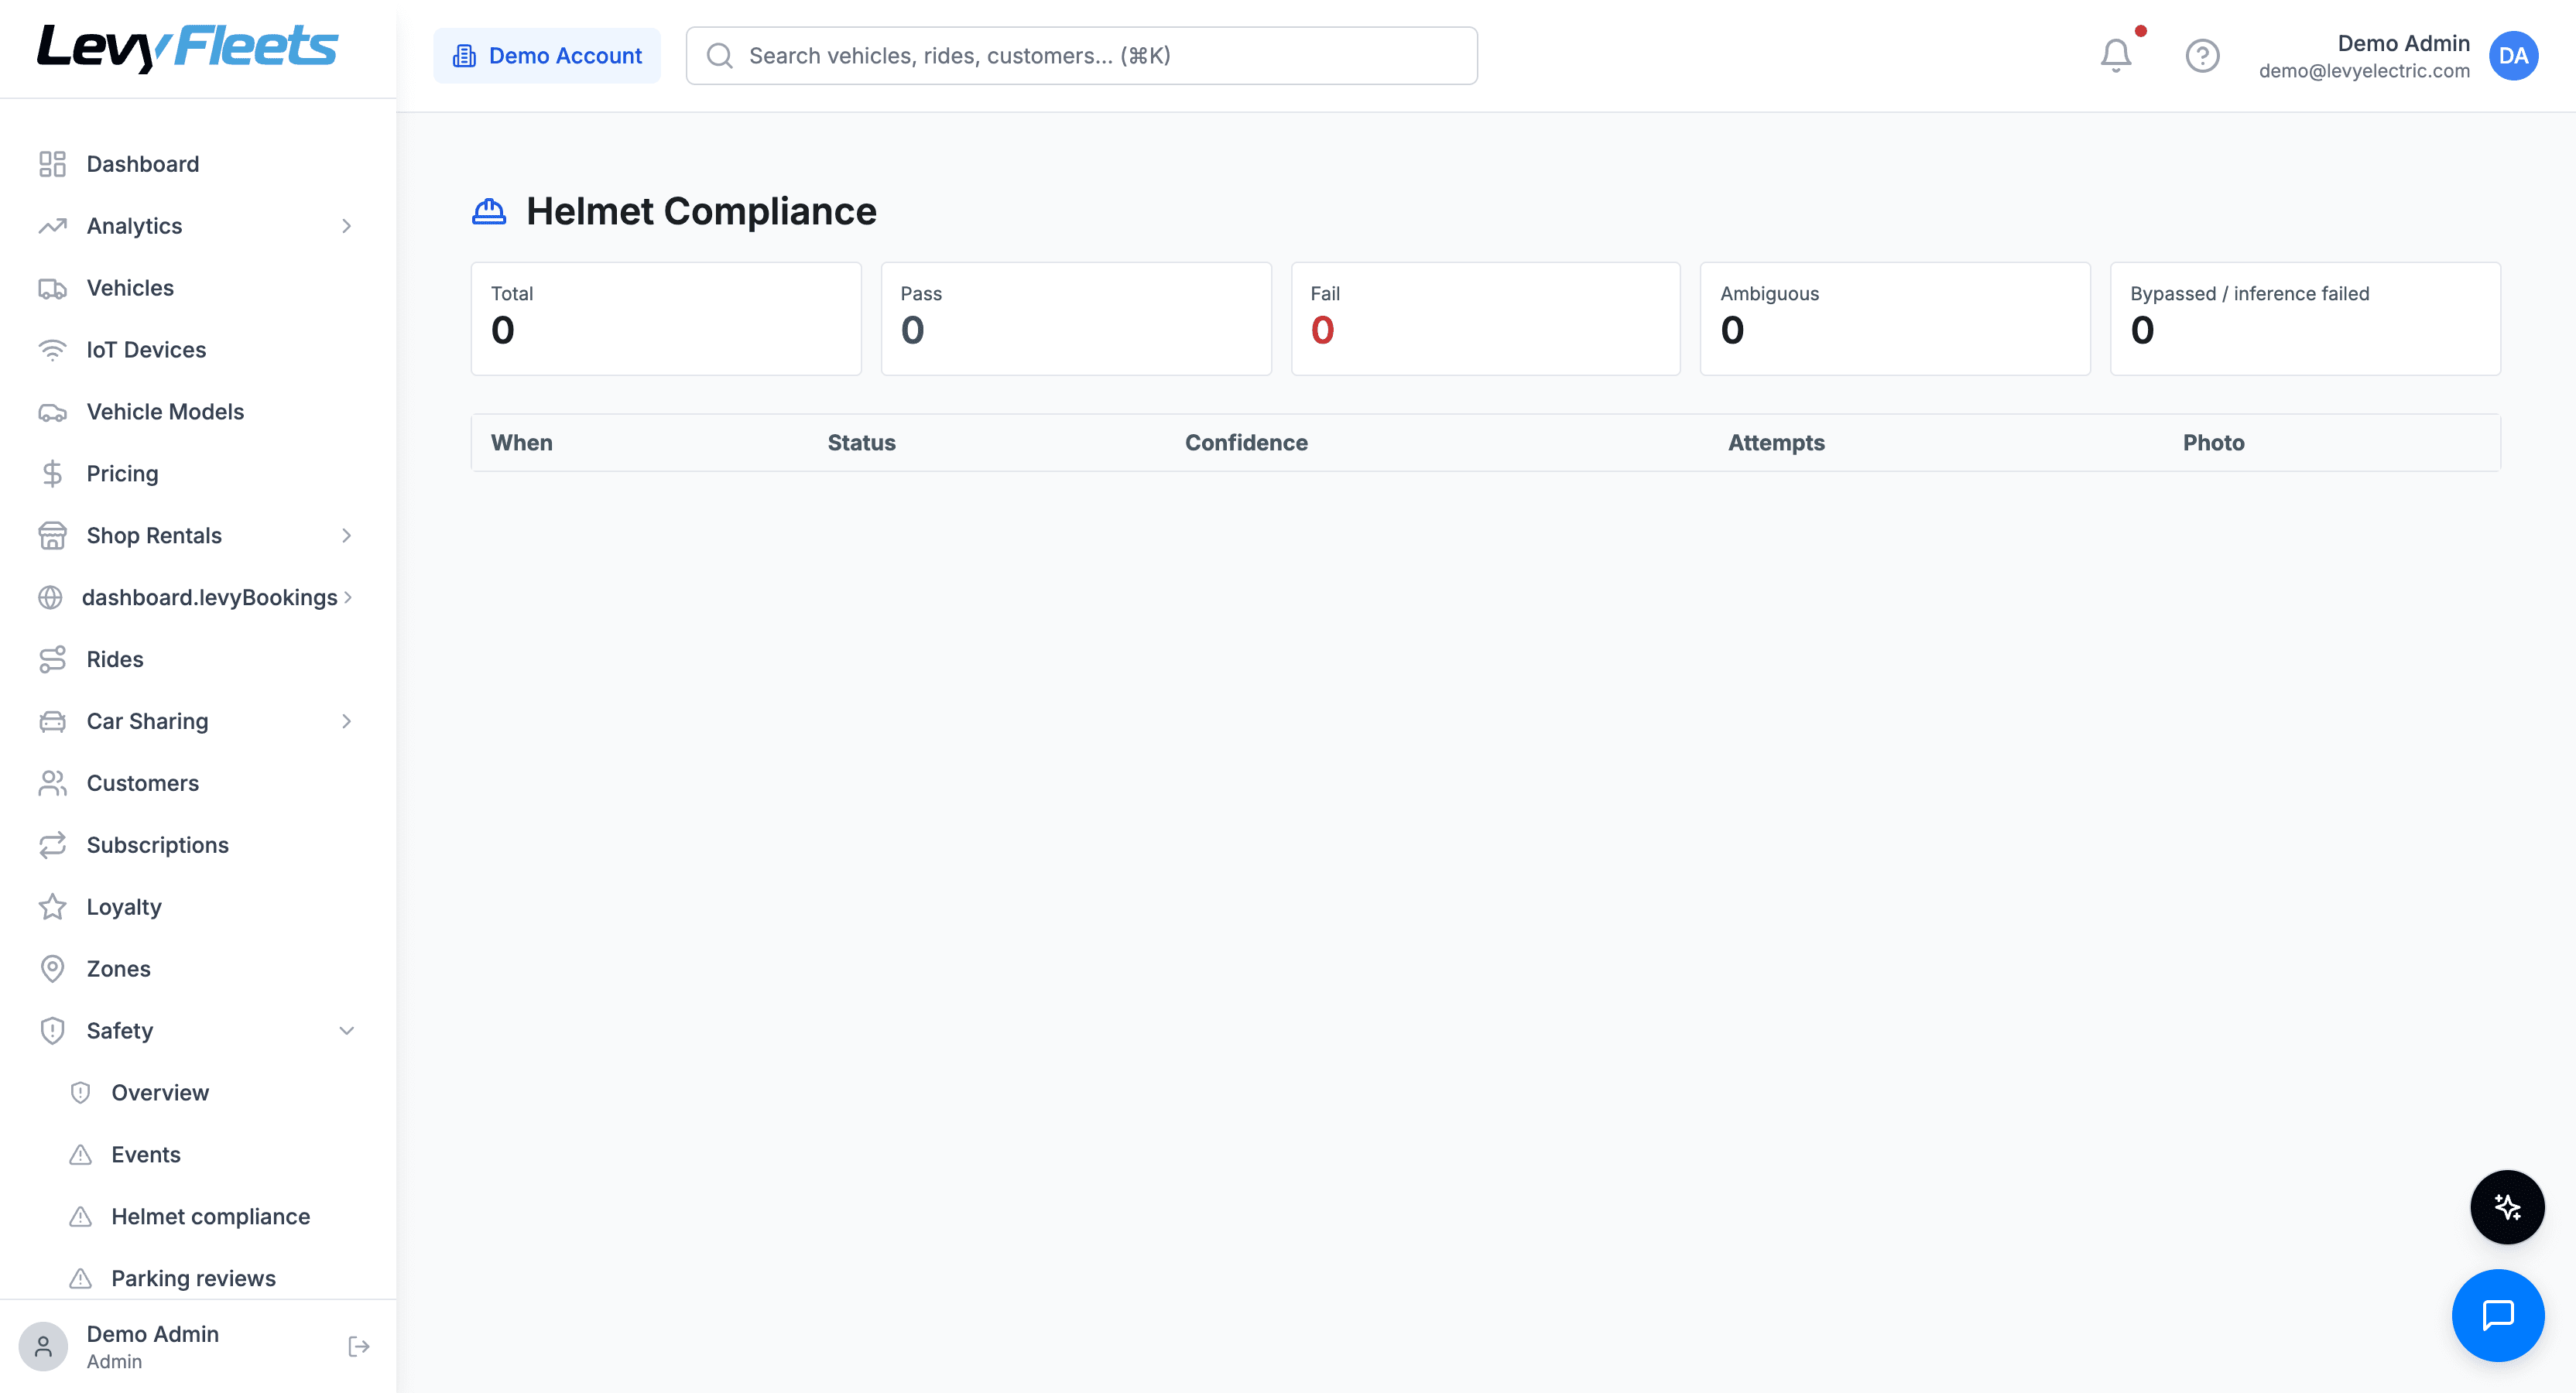
- Helmet check enabled. The master toggle for the check. With it off there is no selfie and no logged events; with it on, the selfie runs at unlock.
- Strict mode. Off means an ambiguous result, an inference failure, or a rider who runs out of attempts still gets to ride, with the event logged for review. On means those same cases block the unlock. Run it off while you are still learning your market and watch the ambiguous and failure rates on the Helmet compliance page before you start blocking real riders.
- Max attempts. You configure how many retakes a rider gets before the outcome is decided. Raising it dilutes enforcement, lowering it frustrates riders in poor lighting, so tune it to your market.
Hardware helmet locks and the discount lever
Some bike SKUs carry a hardware helmet lock (for example an AXA lock). How that lock behaves is vendor-specific and depends on how your hardware is configured in your setup, so confirm the exact behavior for the SKUs you run.
You also have a carrot to pair with the stick: Levy's Rider Score product includes a helmet-selfie discount, so you can reward the riders who consistently gear up instead of only penalizing those who do not. That gives you both a carrot and a stick to work with, not just penalties.
Privacy is a selling point, not a liability
The helmet check only looks at whether a helmet appears in the photo. You should handle these photos under your own privacy policy and the biometric-privacy laws in your jurisdiction, which vary (some regions have specific consent, notice, and retention requirements), so confirm the rules where you operate and make sure your rider consent flow meets them. Say the privacy basics plainly to riders: it lowers friction on the check.
End-of-ride parking verification
Every ride already ends with a parking photo. Parking-pose validation turns that photo from a passive record into an active control: when enabled, the classifier grades each end-of-ride photo on the four checks (upright, in zone, not blocking the sidewalk, clear enough) and writes a result you can act on.
How results map to the action you configure
| End-of-ride photo result | The response you can configure |
|---|---|
| Upright, in zone, not blocking the sidewalk, photo clear | Log it as a clean pass and end the ride |
| Tipped, fallen, out of zone, or blocking the sidewalk | Apply a reparking fee you set, and flag the event for review |
| Photo too unclear to grade | Queue it for operator review instead of charging |
You set the reparking fee, and you can keep it low or hold it off entirely while you pilot, so you can log fails and watch how the classifier behaves on your streets before any real fee lands on a rider.
Every fee flows through the ride, never straight to the wallet
The reparking fee is added to the ride's fare, not credited or debited directly against the rider wallet. That is deliberate: routing it through the ride keeps net-deposited and your partner-payout math correct. If you ever reverse a fee, do it through Adjust fare on the ride, not by editing the wallet. Any wallet movement is a consequence of the ride adjustment, never the starting point.
The appeal flow protects you both ways
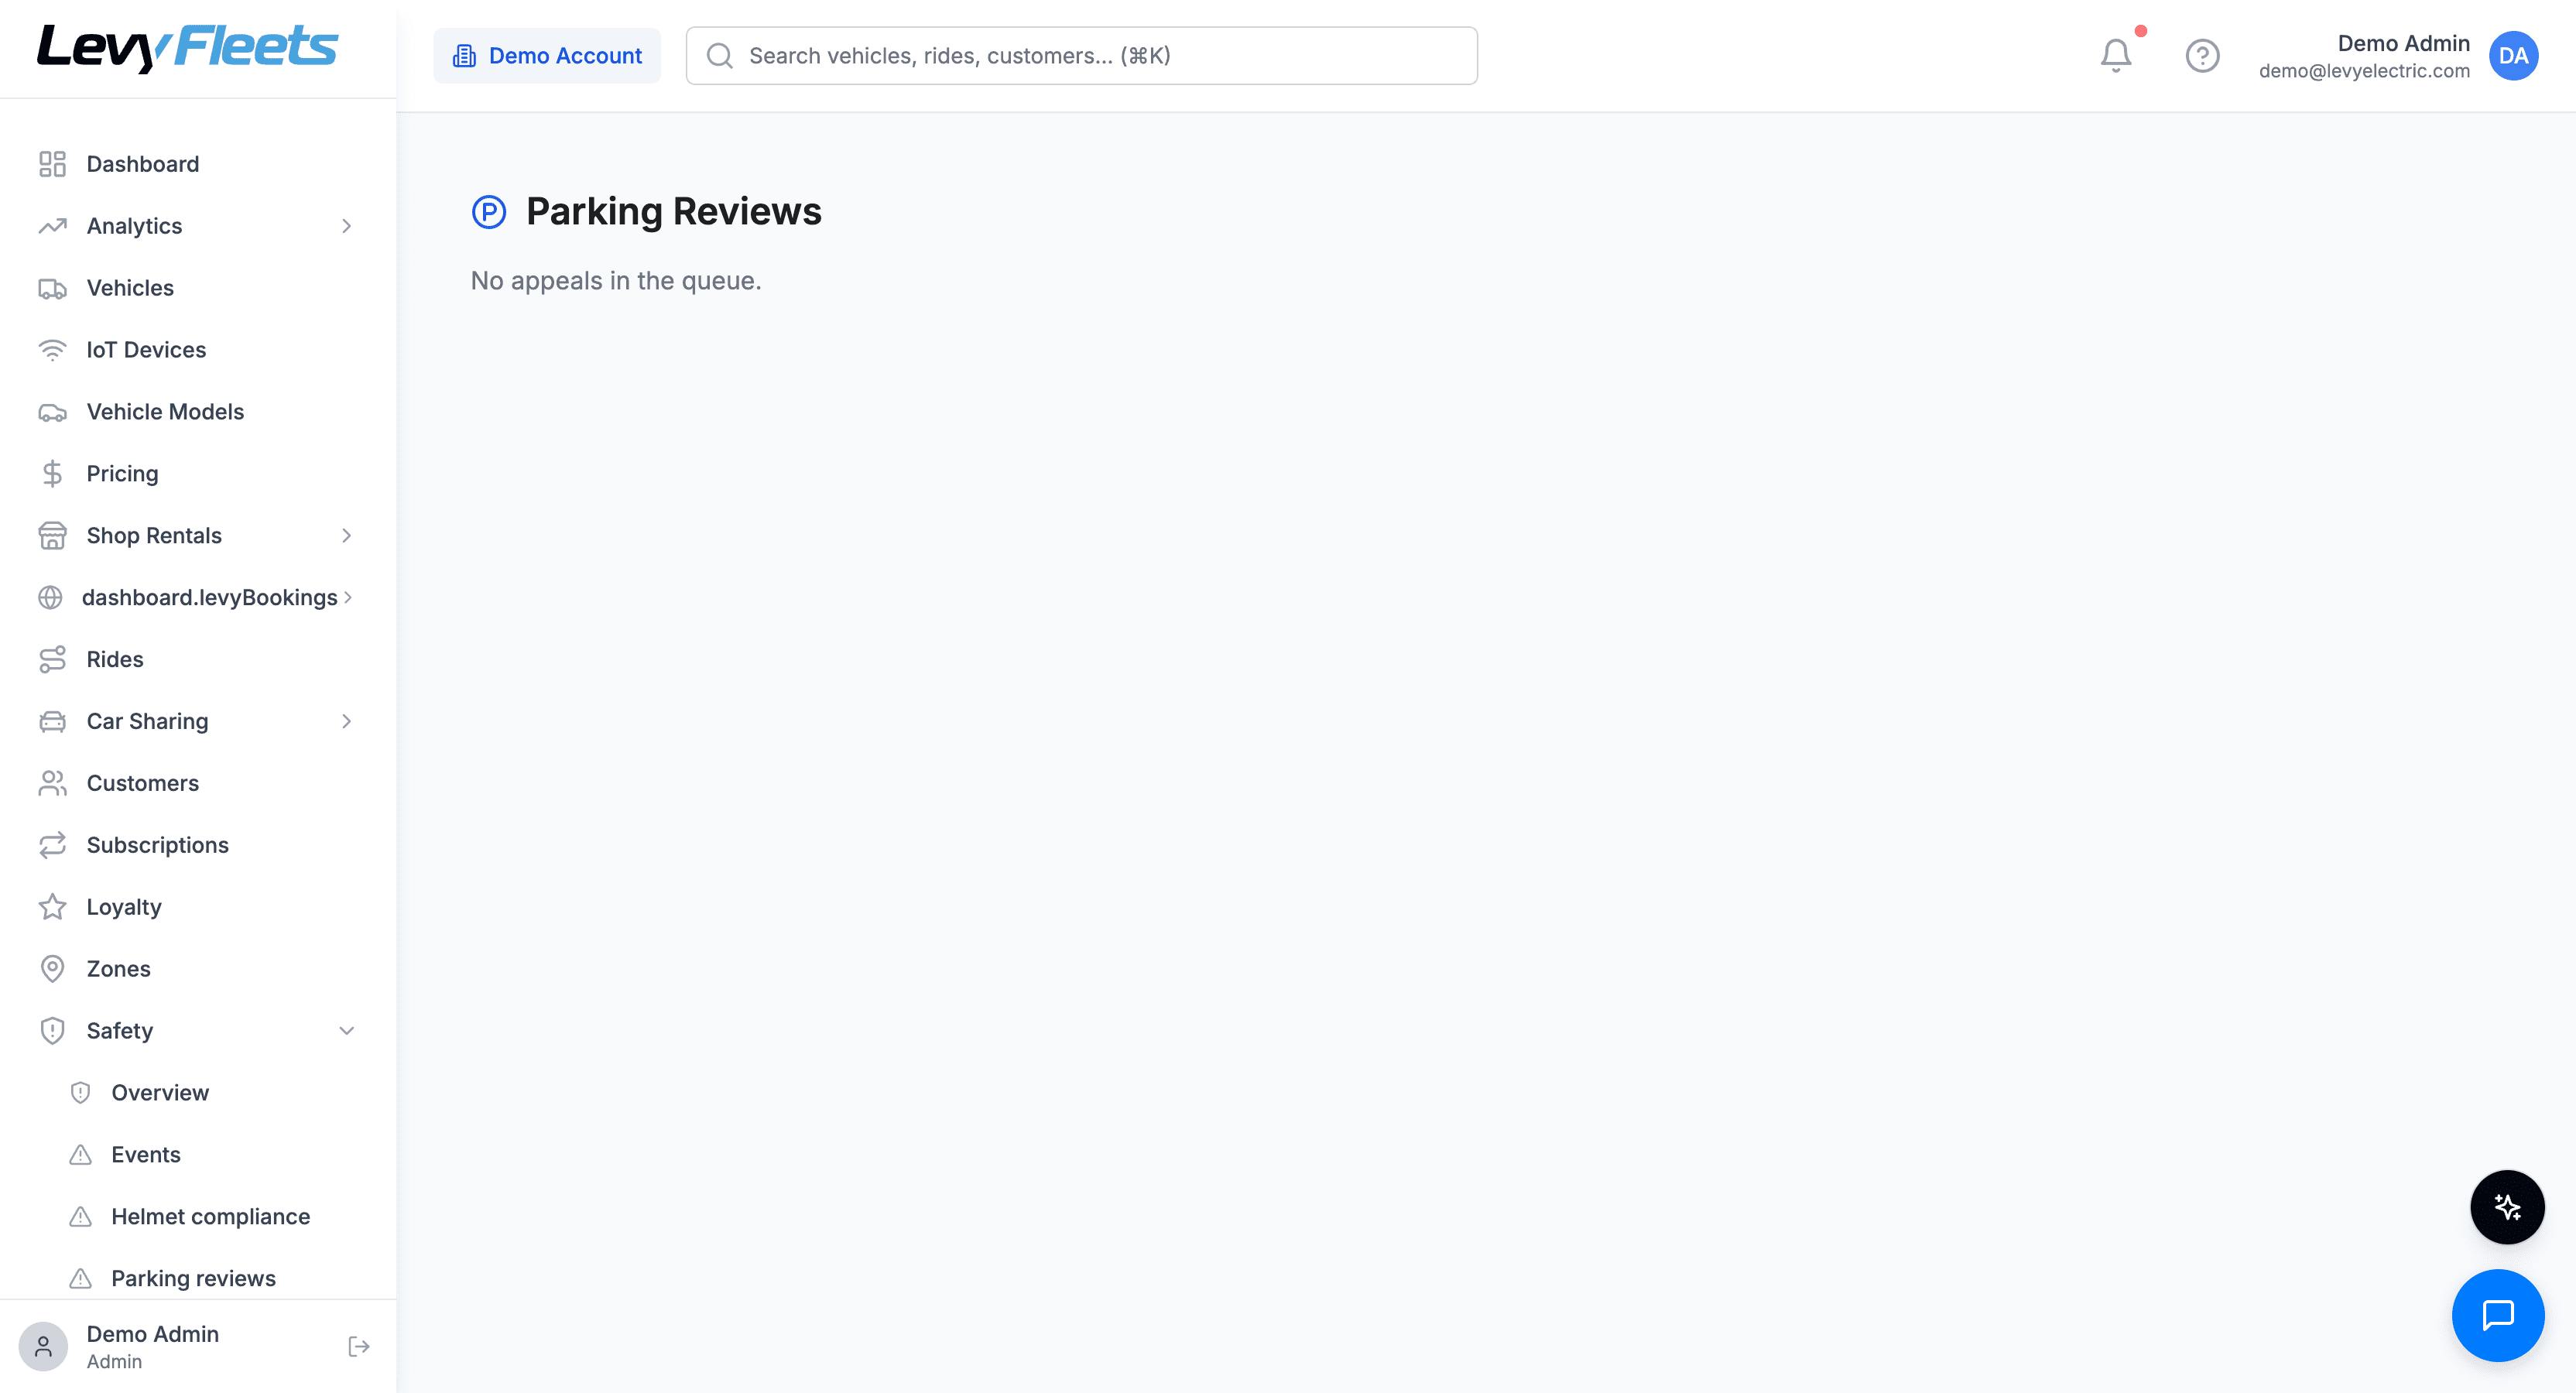
After a parking fail that carries a fee, the rider can accept the fee or appeal it. Appeals route to a review queue you manage under Safety > Parking reviews, and appeal handling is configurable, so you can build a review process that makes sure a forgotten appeal never quietly overcharges a rider.
To tune the classifier for your city, keep the fee low or off during a pilot, flag any event you would dispute, and raise it only once your flag rate is comfortably low. Your parking zones live under zones and geofencing, and the in-zone check reads directly from them, so a well-drawn parking map is what the in-zone check depends on.
Sidewalk-riding detection with throttle cut
Sidewalk riding is the complaint that gets fleets thrown out of cities, and it is the one control that needs hardware Levy does not make. Levy is hardware-agnostic across 30+ IoT vendors, sourcing and integrating third-party hardware rather than manufacturing its own, so sidewalk detection requires camera hardware from a supported vendor installed on the scooters and bikes you want covered. Once the hardware flags a sidewalk-riding event, it streams into Levy Fleets and the response you have configured decides what happens next.
The response you configure
Once a sidewalk event streams into Levy Fleets, you decide how the platform responds. The responses you can configure range from a light touch to a hard stop:
| Response you can configure | What the rider experiences |
|---|---|
| Warning | An in-app alert and a "move to the road" push |
| Speed reduction | Top speed capped while the rider is flagged |
| Throttle cut | Throttle disabled, with an on-screen restore prompt |
You choose which of these to use and how firm to be. Whether throttle cut is enabled is your call, so the platform only disables a vehicle for sidewalk riding if you configure it to. Start with the lighter responses while you learn how detection behaves on your streets, then add the throttle cut once you trust the events.
Account for false positives before you lean on throttle cut
Some surfaces look like sidewalks to the model but are not: a protected bike lane, a beachfront path your city allows, a plaza shortcut you signed off on. As detection runs, watch where events cluster, note the locations that generate false positives, and factor them into how you configure enforcement before you lean on the throttle cut. Working through those spots first is what keeps a real enforcement action off a rider who did nothing wrong.
Restoration is gated, and OEM support varies
When a rider is cut, the restore screen shows a countdown, and the throttle comes back only after the vehicle reports that conditions have cleared, so restoration is not instant. You can also manually restore throttle from the dashboard or the field-tech operator app on any event you judge a false positive.
Not every IoT protocol supports every response, so the platform applies what each vehicle's hardware can actually do and skips what it cannot. That lets a mixed fleet run under one policy even when the hardware varies. For more on how this control fits your permit strategy, read our field guide to sidewalk-riding detection for scooter fleets.
Speed zones
Speed zones need no camera and no rider action at all. You draw a geofenced zone, set a speed limit on it, and when a vehicle enters during an active ride, the platform sends an IoT command to cap its top speed; on exit, speed is restored automatically. It is protocol-agnostic across the common vendors (Segway, OKAI, Omni, Queclink, and Zimo), and every speed change is logged with a timestamp for your audit trail.
The strictest limit wins
When a vehicle sits inside more than one constraint, the strictest one governs. The effective top speed is whichever is lowest among these:
- The zone's own speed limit
- Any fleet-wide slow-speed limit you have set
- The vehicle model's maximum speed
So you can layer a strict pedestrian-plaza zone inside a looser downtown zone and trust that the plaza limit governs while the rider is inside it. Start from limits that match the surface, not a single fleet-wide number:
| Location type | Typical limit | Why |
|---|---|---|
| Pedestrian plazas | 5 to 8 km/h | Dense foot traffic |
| School zones | 8 to 10 km/h | Child safety |
| Parks and shared trails | 10 to 12 km/h | Mixed pedestrian use |
| Downtown corridors | 10 to 15 km/h | Mixed traffic |
| Residential streets | 12 to 15 km/h | Neighborhood safety |
These ranges are planning starting points, not fixed rules: allowed speeds vary by city ordinance, permit terms, season, and surface. Confirm each limit against your local requirements and adjust to what your market and permits demand rather than treating any number here as a standard.
Speed zones live alongside your parking zones, no-go areas, and service-area boundaries in the same geofencing tools. Manage them all from zones and geofencing, and note that these same geofences feed the parking-pose in-zone check: one clean zone map does double duty for safety and parking compliance.
A staged rollout that will not anger your riders
The fastest way to lose rider trust is to flip every enforcement control to strict on day one and start blocking unlocks and cutting throttles on false positives. Roll enforcement out gradually as you learn your fleet instead.
Turn the checks on with consequences held back
Enable helmet check, parking validation, and sidewalk detection, but hold the consequences back: keep strict mode and throttle cut from enforcing and keep any fee low or off. You are only logging events, so nothing changes for riders yet.
Watch the dashboards as events come in
Live on your safety dashboards, the helmet, parking, and sidewalk views, and flag every false positive you see. You are learning how the classifiers behave in your specific city and surfaces.
Account for false positives and fix your zones
Identify the bike lanes and paths that trip the sidewalk model so you can factor them into your enforcement config, and clean up any parking geofences producing bad in-zone calls. This is the step where you clear out false positives before any consequence goes live.
Turn on consequences once false positives are low
When your flag rate is comfortably low, set your reparking fee, enable helmet strict mode, and enable throttle cut. Start conservative, then tighten once you trust the numbers.
What changes by vehicle type
The controls are the same across your fleet, but the constraints differ. Levy is hardware-agnostic across 30+ IoT vendors, so GPS, remote lock and unlock, and real-time status are standard on whatever mix you run.
Kick scooters are the sidewalk-complaint vehicle, so this is where sidewalk detection and speed zones earn their keep. They tip over easily, which makes the parking-pose upright check valuable, and they are the class cities scrutinize hardest. If you run camera hardware anywhere, run it here first.
Frequently asked questions
Put it into practice
Good safety operations are not about maximum punishment. They are about drawing accurate zones, watching the dashboards, clearing false positives, and only then turning consequences on. Done that way, helmet checks, parking verification, sidewalk detection, and speed zones give you the tools to enforce your own safety and parking policy and to document what you enforced for your city and your insurer, without flipping every control to strict on day one. Want to see how these controls apply to your city, vehicle mix, and permit requirements? Book a demo and we will walk your safety configuration end to end.