.svg)
A public right-of-way permit is the one approval that decides whether your fleet earns revenue on city streets or gets impounded on day one. The process is slow, document-heavy, and unforgiving of a missing piece. Budget 6 to 16 weeks from opening the ordinance to legal deployment. Expect application fees that commonly run from a few hundred to several thousand dollars, per-vehicle annual fees often in the range of $50 to $150, and commercial liability minimums that frequently start at $1 million per occurrence. This lesson walks the scooter permit application end to end: finding the real rules, building the application, meeting the insurance and indemnification asks that stall operators, wiring up MDS and GBFS data feeds, and planning the calendar so you are not caught flat.
One framing note. Levy Fleets is a connected fleet operations platform, and the permit is yours to win, not ours. The platform supplies the compliance plumbing a city expects (geofencing, end-of-ride parking verification, MDS 2.0 and GBFS 3.0 feeds, real-time speed enforcement) on a revenue-share model with $0 upfront and a $250 per month platform minimum. But the application, the insurance policy, and the relationship with the city agency are yours to own and sign. Read this as the operator putting a name on the form.
Not legal, insurance, or tax advice
This lesson is general operational guidance, not legal, insurance, or tax advice. Permit terms, fee schedules, insurance limits, and indemnification language vary by city and change often, and the ranges below are illustrative planning figures, not quotes. Confirm every requirement against the actual ordinance and program terms, and review your insurance certificate and any hold-harmless agreement with a licensed broker and a local attorney before you sign or submit.
First, confirm you actually need a permit
Your entire regulatory burden splits along one line: where your vehicles operate.
- Public right-of-way (sidewalks, streets, public paths, plazas). This is where shared-mobility permits, fleet caps, and competitive bidding live. Free-floating vehicles that riders leave on city streets almost always need a formal permit.
- Private property (hotels, resorts, campuses, apartments, business parks). Operating as an amenity on private land typically falls outside city permitting. You still need business licensing, insurance, and the owner's written agreement, but you skip the RFP entirely. Many operators launch here first to prove the model, then expand onto public ROW.
If you are on private property, most of this lesson is optional reading and you can move faster. If you are targeting public streets, keep going. For the full breakdown of the two regimes and a launch checklist, read the scooter and micromobility permits and regulations guide; this lesson is the how-to that sits on top of it.
Do not deploy first and ask forgiveness
Cities have long memories and impound lots. Operators who drop vehicles before a permit is issued routinely get banned from the next RFP cycle, which can cost you the market for a year or more. The permit is a gate, not a formality.
Step 1: Find the real rules, not the summary
The most common launch mistake is reading a blog post about a city instead of its actual ordinance and program terms. Rules vary enormously and change often. Pull the primary sources.
Where the rules live
- The municipal ordinance or code. Search the city code for "shared mobility", "shared micromobility", "dockless", "scooter share", or "e-scooter". This is the law that authorizes the program.
- The transportation agency's program page. The department of transportation (or public works, or a mobility office) usually publishes the operating rules, the permit application, and the fee schedule.
- The active RFP, RFA, or pilot terms. Many cities award a limited number of operator slots through a competitive solicitation. If one is open, its terms override the general summary and carry hard deadlines.
What to read for
Read the primary documents with a highlighter and pull out every hard number and commitment:
- Fleet caps (maximum, sometimes minimum) and whether the cap grows with performance.
- Application fee, per-vehicle fee, and any performance bond.
- Insurance limits and the exact additional-insured and indemnification language.
- Data-sharing standard and version (MDS 2.0, GBFS 3.0) and feed cadence.
- Parking rules: designated parking, no-park zones, sidewalk clearance, lock-to mandates.
- Equipment standards: lights, brakes, speed caps, in-app parking photos.
- Operational SLAs, equity requirements (low-income and adaptive access), and reporting cadence.
If a requirement is ambiguous, email the program manager and get the answer in writing before you submit. That paper trail protects you later.
What a scooter permit application actually contains
Once you know the rules, the application itself is a package. Cities differ, but a public ROW micromobility permit application commonly asks for the following components.
| Component | What the city wants to see |
|---|---|
| Company and business license | Legal entity, local registration, often a local agent or office |
| Fleet plan | Vehicle count, make and model, and how you stay under the cap |
| Certificate of insurance | Required limits with the city named as additional insured |
| Indemnification agreement | Signed hold-harmless language protecting the city |
| Data-sharing commitment | Your MDS provider feed, GBFS feed, and API access for the city |
| Operations plan | Rebalancing, charging or swapping, repair, and your misparked-vehicle SLA |
| Parking and safety plan | Geofenced zones, no-park zones, end-of-ride verification, speed caps |
| Equity plan | Low-income pricing, cash and non-smartphone access, equity-zone deployment |
| Fees and bond | Application fee, per-vehicle fee, and any performance bond |
The operations, parking, and safety plans are where a connected platform does the heavy lifting, because you can point to concrete enforcement rather than promises. More on that below.
Insurance and indemnification: the asks that stall operators
Insurance is the single most common reason a submission gets bounced. Start it early, because brokers who understand shared mobility are not on every corner and a certificate can take a week or more to issue.
Commercial general liability and additional insured
Cities almost always require commercial general liability coverage, frequently starting at $1 million per occurrence with a $2 million to $5 million aggregate, plus auto and umbrella coverage in some programs. The city must be named as an additional insured on the policy, and often the certificate has to show specific endorsement language word for word. This is coverage you secure through your own licensed broker; it is not something the platform provides. Get the exact language from the permit terms and hand it to your broker so the certificate matches on the first pass.
Indemnification and hold-harmless
Separately from insurance, the city will ask you to sign an indemnification (hold-harmless) agreement making you responsible for claims arising from your operation. Read it with a local attorney. It is broad by design, one more reason your liability coverage needs to be real and adequate.
Start insurance in week one
Request the certificate the same week you open the application, and send the exact additional-insured and indemnification wording from the permit terms to your broker verbatim. A wrong endorsement is a multi-week round trip.
Data sharing: MDS and GBFS are not optional
Trip and location data sharing is a standard, hard condition of public ROW permits, and cities enforce it. Two standards dominate, and you will usually owe both.
What MDS and GBFS are
- MDS (Mobility Data Specification), commonly version 2.0. A private, authenticated feed the city uses for regulation and enforcement: your vehicles, trips, and status, exposed to the agency (or its data vendor) through a Provider API. This is how a city checks your fleet cap, verifies parking, and audits compliance.
- GBFS (General Bikeshare Feed Specification), commonly version 3.0. A public, real-time feed of available vehicles, used by trip-planning apps and by the city for transparency. Many permits require you to publish and maintain it.
Missing, stale, or malformed feeds are a fast way to lose a permit, because they are trivially easy for a city to monitor.
How to produce the feeds
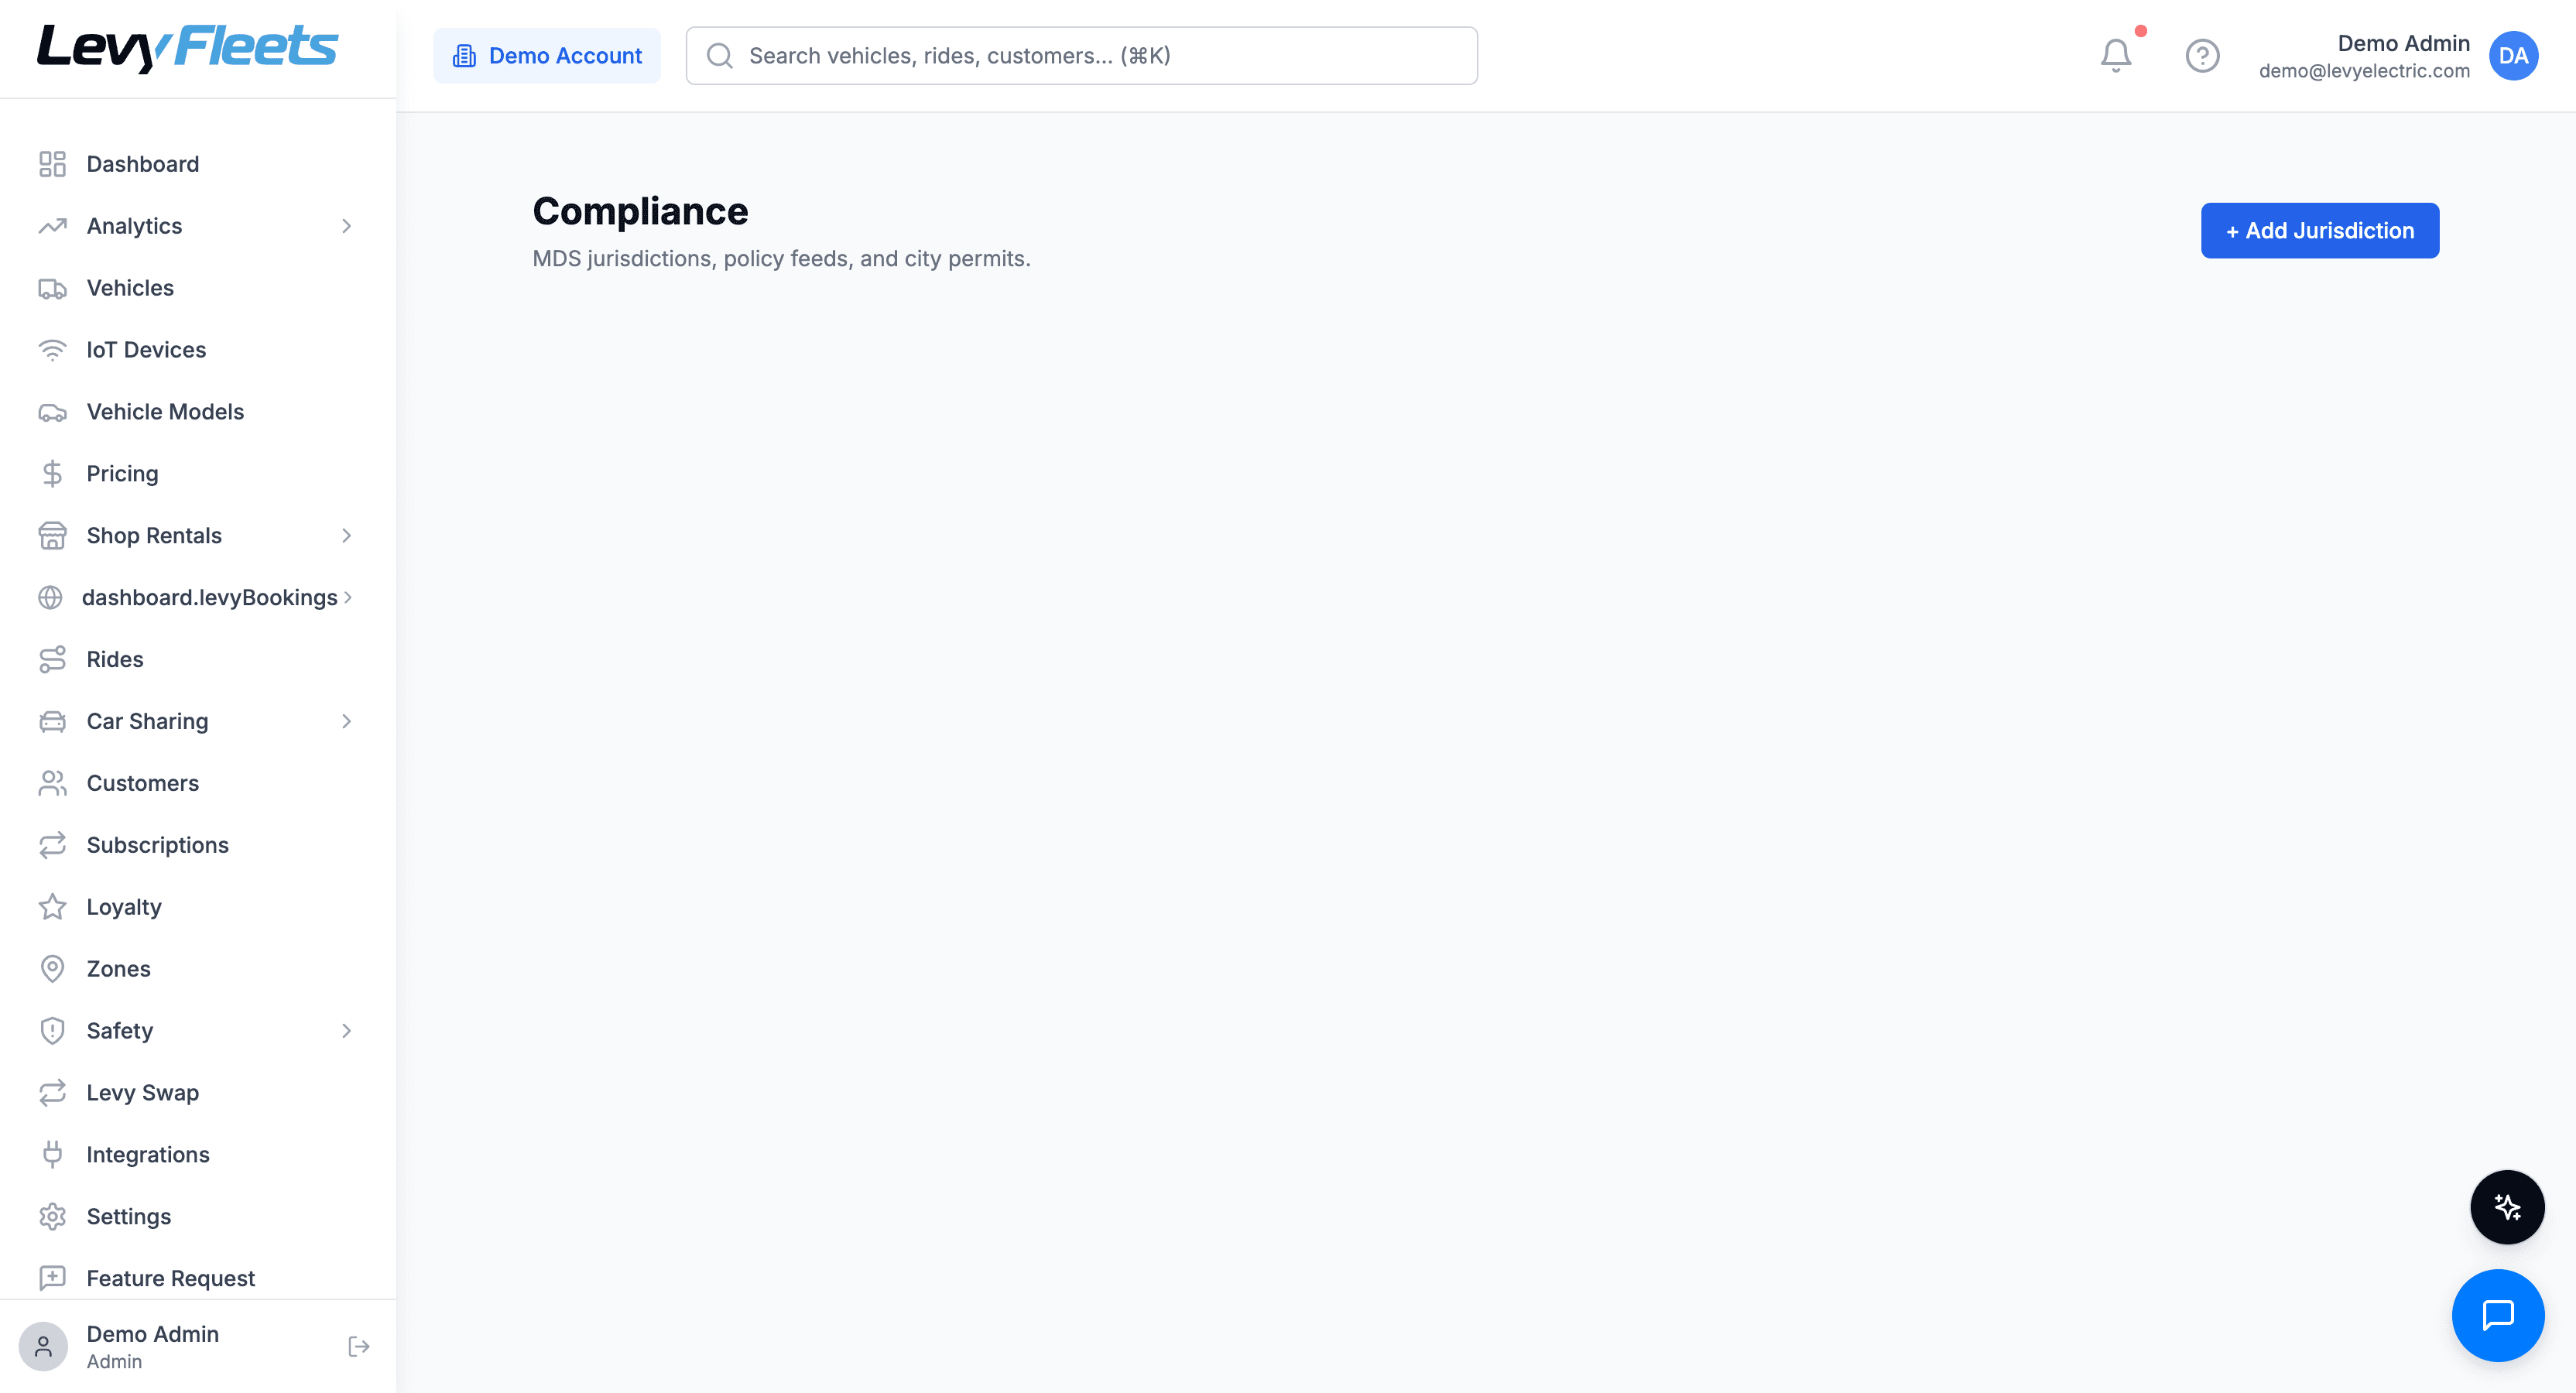
Standing up compliant MDS and GBFS feeds by hand is real engineering, and one of the strongest reasons operators run on a connected platform instead of a spreadsheet. Levy Fleets ships city-compliance tooling that generates an MDS 2.0 provider feed and a GBFS 3.0 feed from your live fleet, ingests city policy, and exposes a city-portal magic link so the agency can reach your data, with JWKS key management handling the secure API authentication the standards require. It also enforces the policies the feeds describe, with real-time speed enforcement and stacked-geofence priority when zones overlap.
City Compliance documentation
How Levy produces MDS 2.0 and GBFS 3.0 feeds, ingests city policy, and gives cities portal access with managed API keys.
Read the City Compliance help center before you submit so you can describe your data pipeline with specifics: the standard, the version, the cadence, and how the city gets authenticated access. Specifics read as credibility to a program manager.
Prove your operations plan
The parking, safety, and operations sections are where you either sound like a real operator or like someone who has never run a fleet. Point to enforcement mechanisms, not intentions.
- Geofencing. Define your operating area, no-ride zones, and speed-limit zones to match the permit exactly. Levy supports service-area zones, speed-limit zones, no-go zones, and parking zones, so your map mirrors the ordinance.
- End-of-ride parking verification. Misparked vehicles drive most regulator complaints, and cities increasingly require proof of proper parking. Levy Vision performs parking-pose validation at the end of a ride, checking that the vehicle is upright, inside the parking zone, not blocking the sidewalk, and captured in a clear photo before the rider can end the trip.
- Sidewalk riding. Where the permit prohibits it, Levy Vision includes sidewalk detection with throttle-cut enforcement, so the vehicle slows or stops rather than relying on the rider to behave.
- Helmet policy. If your program encourages or requires helmets, Levy Vision offers helmet verification at unlock.
- Operational SLAs. Cities set response times to relocate a misparked or broken vehicle. On the Managed plan, Levy runs support, disputes, and collections, and the operator app routes technicians for rebalancing and battery-swap work, the operational muscle these SLAs demand.
Scope note on Levy Vision
Levy Vision covers parking, helmet, and sidewalk compliance only. It is not a damage inspection, a return inspection, or a vehicle-condition tool. Use it in your application to demonstrate parking and sidewalk enforcement, which is precisely what city programs ask about.
By vehicle type
Permit requirements shift with what you deploy. The core application is the same, but watch these differences.
Standing e-scooters carry the heaviest permitting load. Expect fleet caps, sidewalk-riding prohibitions, speed caps (commonly around 15 mph, lower in slow zones), and the strictest parking and no-park rules. This is the vehicle class most public ROW programs were written for.
Fees and timelines: budget the calendar, not just the cash
Two things sink new operators: the fees they did not budget and the weeks they did not plan for.
- Application fee. Commonly a few hundred to several thousand dollars, non-refundable.
- Per-vehicle fee. Often in the range of $50 to $150 per vehicle per year, scaling with your cap.
- Performance bond or deposit. Some cities require a bond to cover cleanup of abandoned vehicles.
- Insurance premium. Your ongoing commercial coverage, quoted by your broker.
On the timeline, a realistic path runs 6 to 16 weeks:
- Weeks 1 to 2: read the ordinance and program terms, and open the insurance request.
- Weeks 2 to 5: assemble the application, stand up MDS and GBFS feeds, and finalize the certificate of insurance.
- Weeks 4 to 10: submit and wait through city review; expect at least one request for clarification.
- Weeks 8 to 16: permit issued, final fees and bond paid, then deploy.
Competitive RFP cycles run longer and on the city's calendar, sometimes only once a year, so a missed window can cost you the whole cycle. None of these are Levy costs: the platform is $0 upfront and revenue-share (you pay when riders pay), with a $250 per month platform minimum credited against fees, so your launch capital goes to permit fees, insurance, and vehicles.
Your pre-submission checklist
Confirm public ROW vs private property
Decide the deployment type for every zone. Private-property amenity programs usually skip city permitting.
Pull and read the primary sources
Read the ordinance, program terms, and any open RFP. Highlight every hard number and commitment.
Lock in insurance early
Send the exact additional-insured and indemnification language to your broker and request the certificate at the required limits.
Stand up MDS and GBFS feeds
Configure your MDS 2.0 and GBFS 3.0 feeds and confirm the city can authenticate to them.
Build the operations, parking, and safety plan
Map geofences to the ordinance, enable end-of-ride parking verification, and document your misparked-vehicle SLA.
Budget the fees and the calendar
Set aside application, per-vehicle, and bond costs, and plan around the review window or RFP cycle.
Submit, then respond fast
Expect a clarification request. Answer within a day to keep your file moving.
Frequently asked questions
Where to go next
A permit is won on specifics: the exact insurance endorsement, the live MDS feed, the geofenced parking plan that matches the ordinance line for line. Get those three right and the rest follows. To see how the compliance plumbing (MDS and GBFS feeds, geofencing, and end-of-ride parking verification) comes together on a $0-upfront, revenue-share plan before you file, book a demo and walk through your target city with our team.