Self-Serve Kiosk
The Levy iPad POS can run in two modes. Staff mode is the regular counter console (covered in iPad POS Workflow). Self-serve mode turns the same iPad into a walk-up kiosk where customers rent and return scooters themselves, with no staff intervention required.
Self-serve mode works for both IoT-enabled vehicles (the kiosk unlocks them electronically over the network) and non-IoT vehicles (the kiosk hands the customer a 4-digit return PIN they type at check-in).
Setup
The kiosk inherits everything from the iPad POS Setup guide. The only extra step is choosing self-serve mode at pairing time.
- From the dashboard, go to Bookings → iPad POS.
- Enter a name (e.g. "Front Counter Kiosk").
- Check the Self-serve kiosk mode box.
- Tap Generate PIN.
- On the iPad, open
https://your-fleet.levyelectric.com/posand enter the 6-digit PIN.
The iPad lands on the self-serve screen instead of the staff console. You can switch any device between staff and self-serve modes later from the same dashboard page — the toggle next to each connected device.
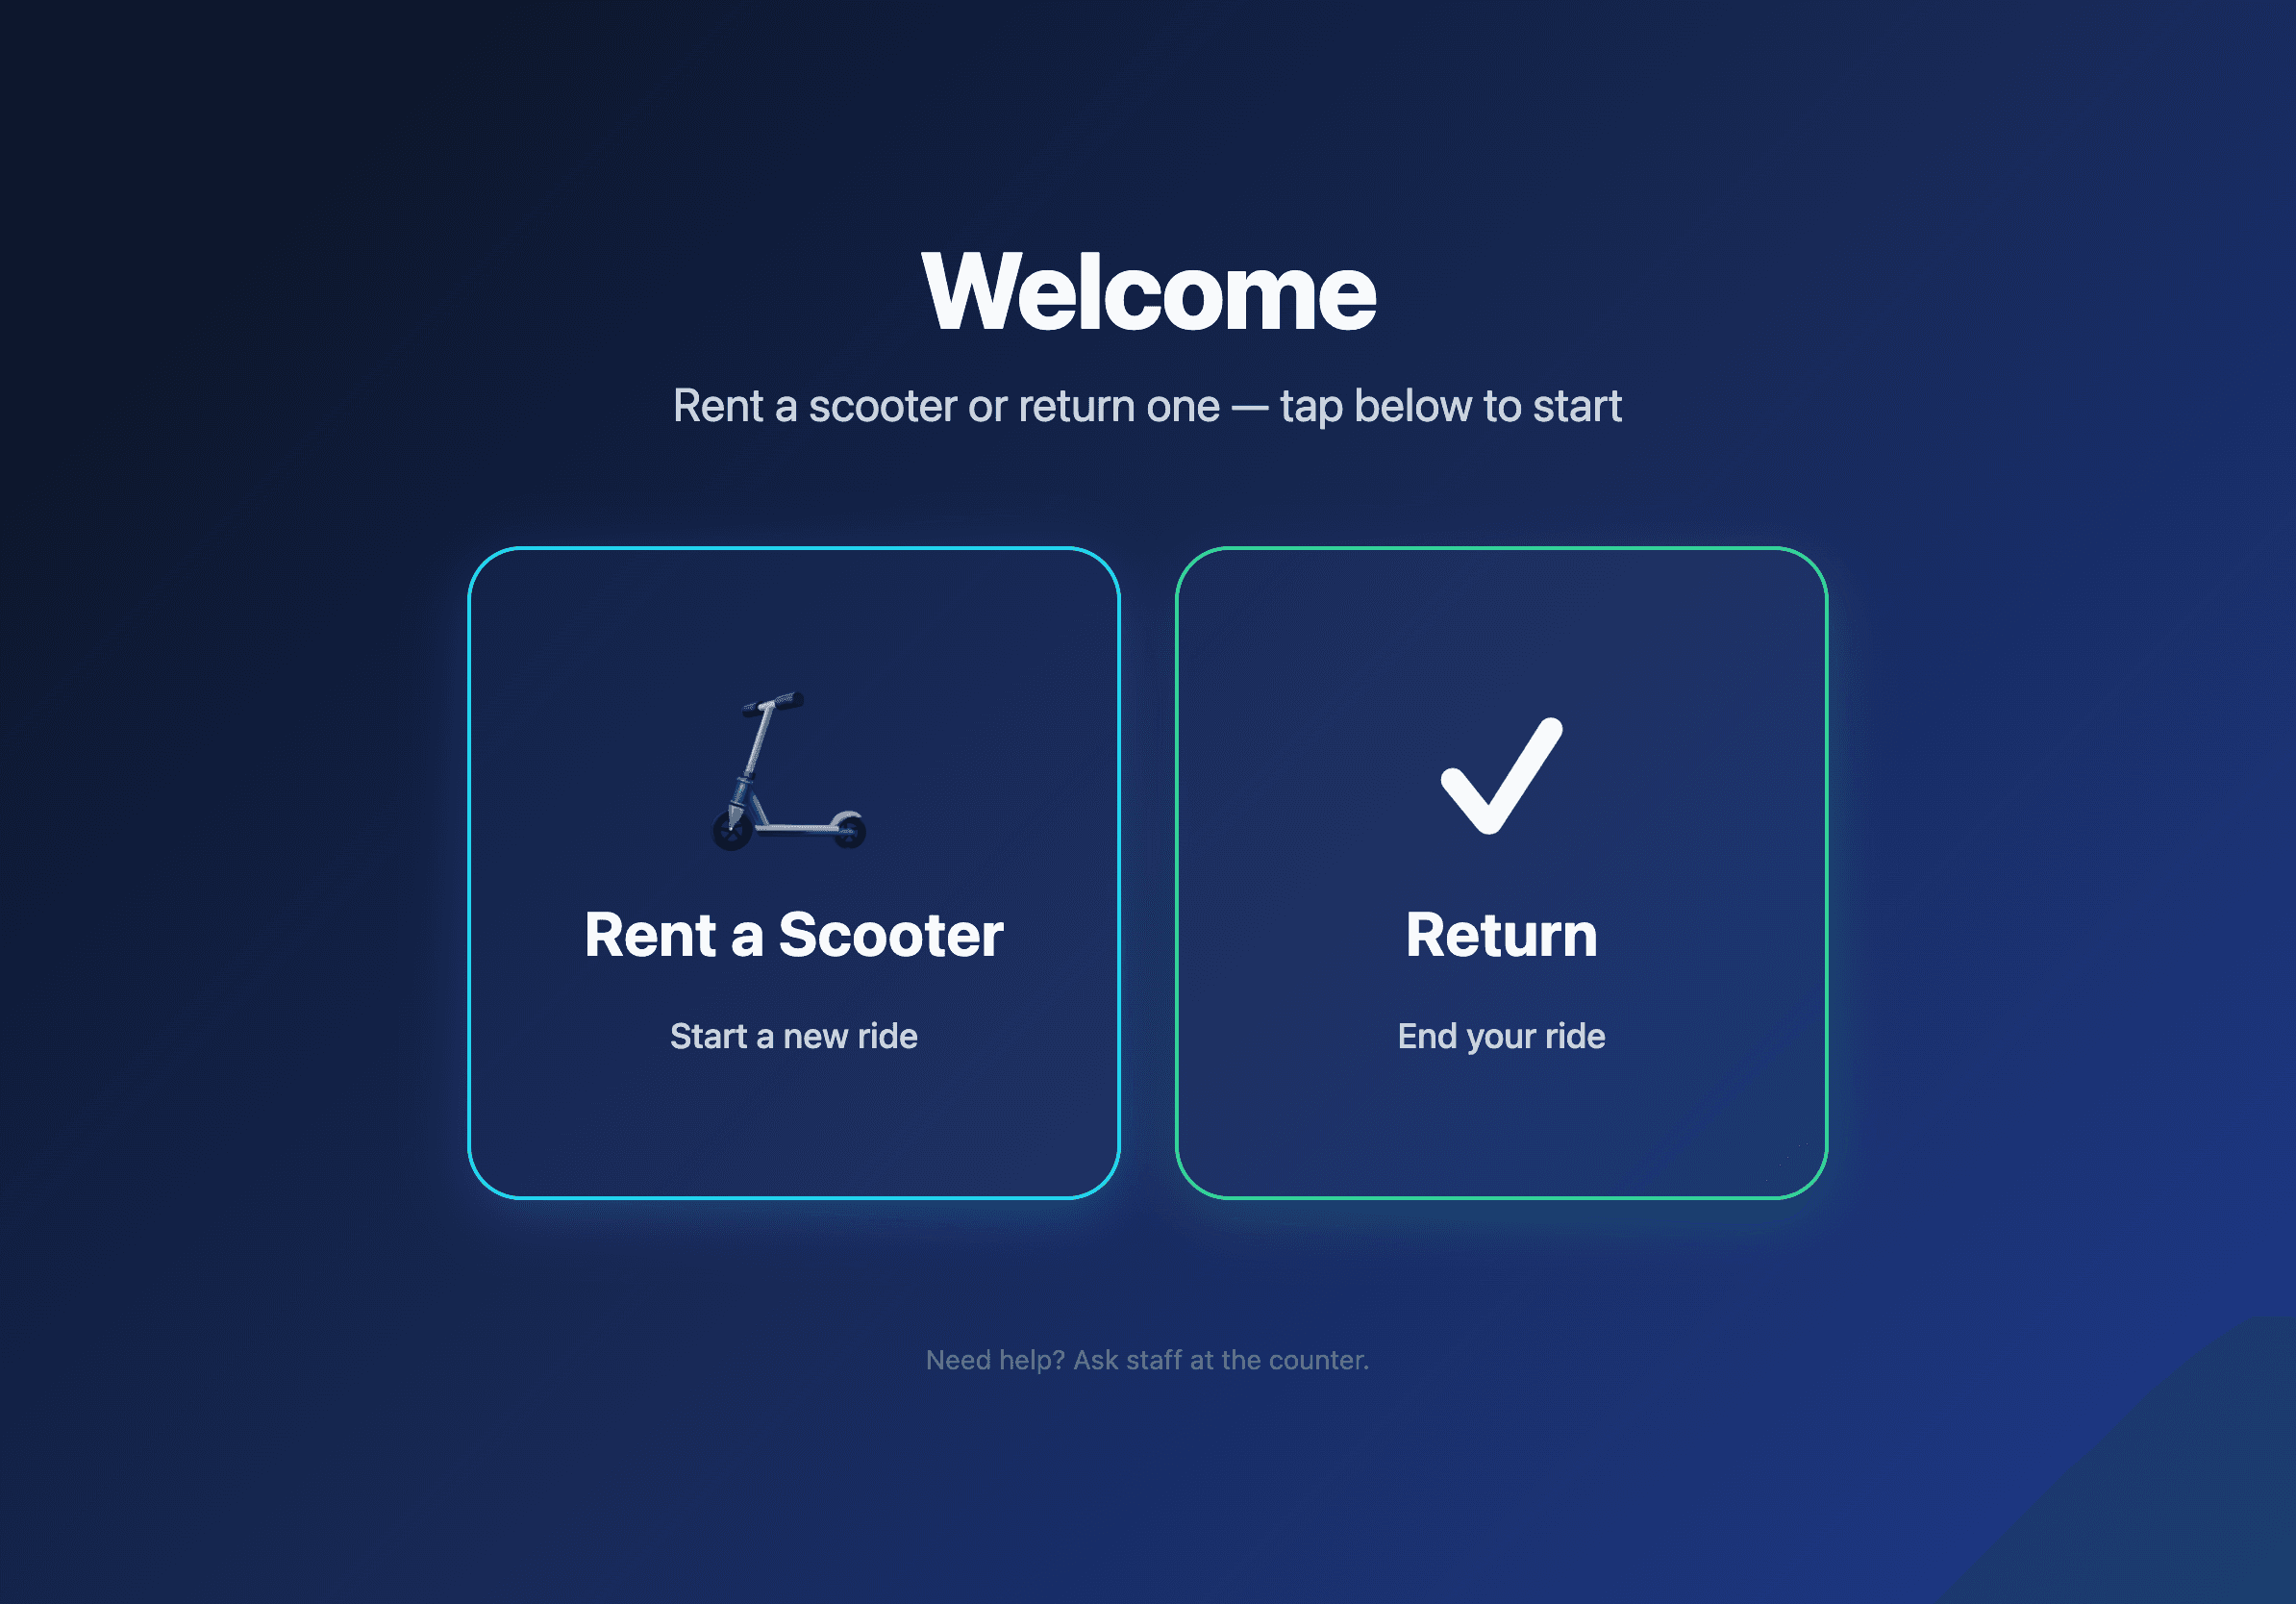
The walk-up rent flow
A customer walks up. They tap Rent a Scooter.
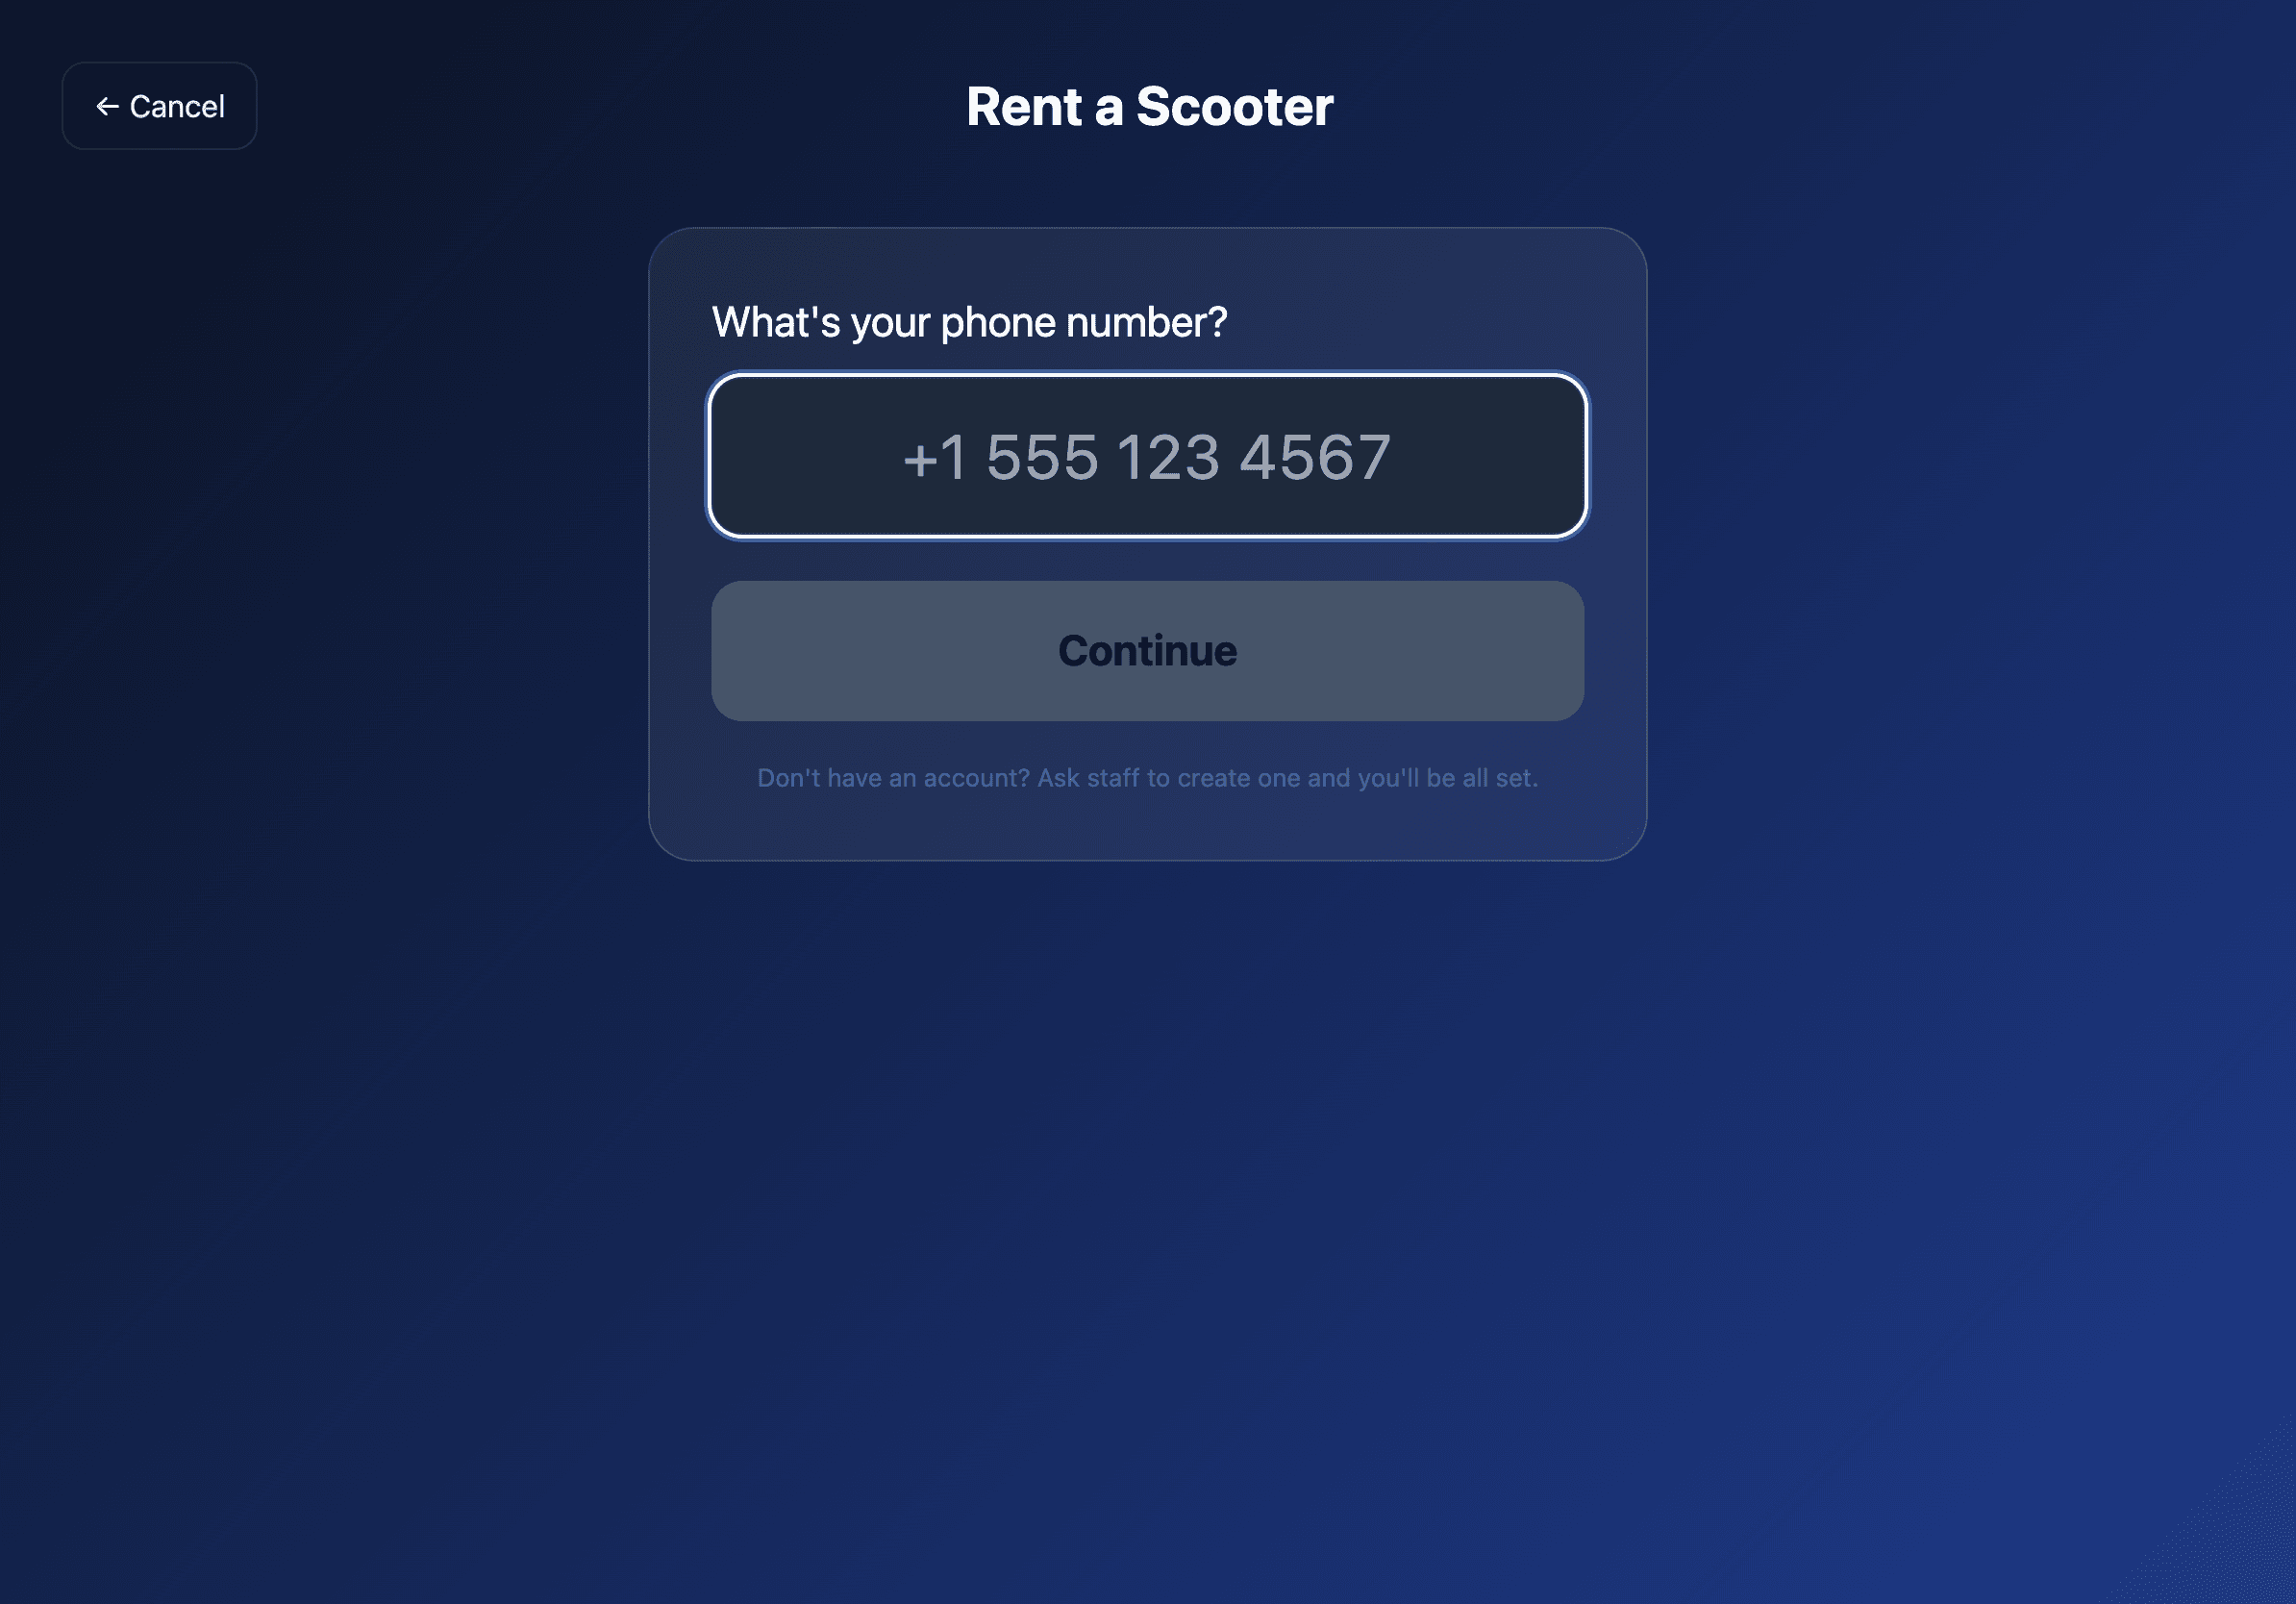
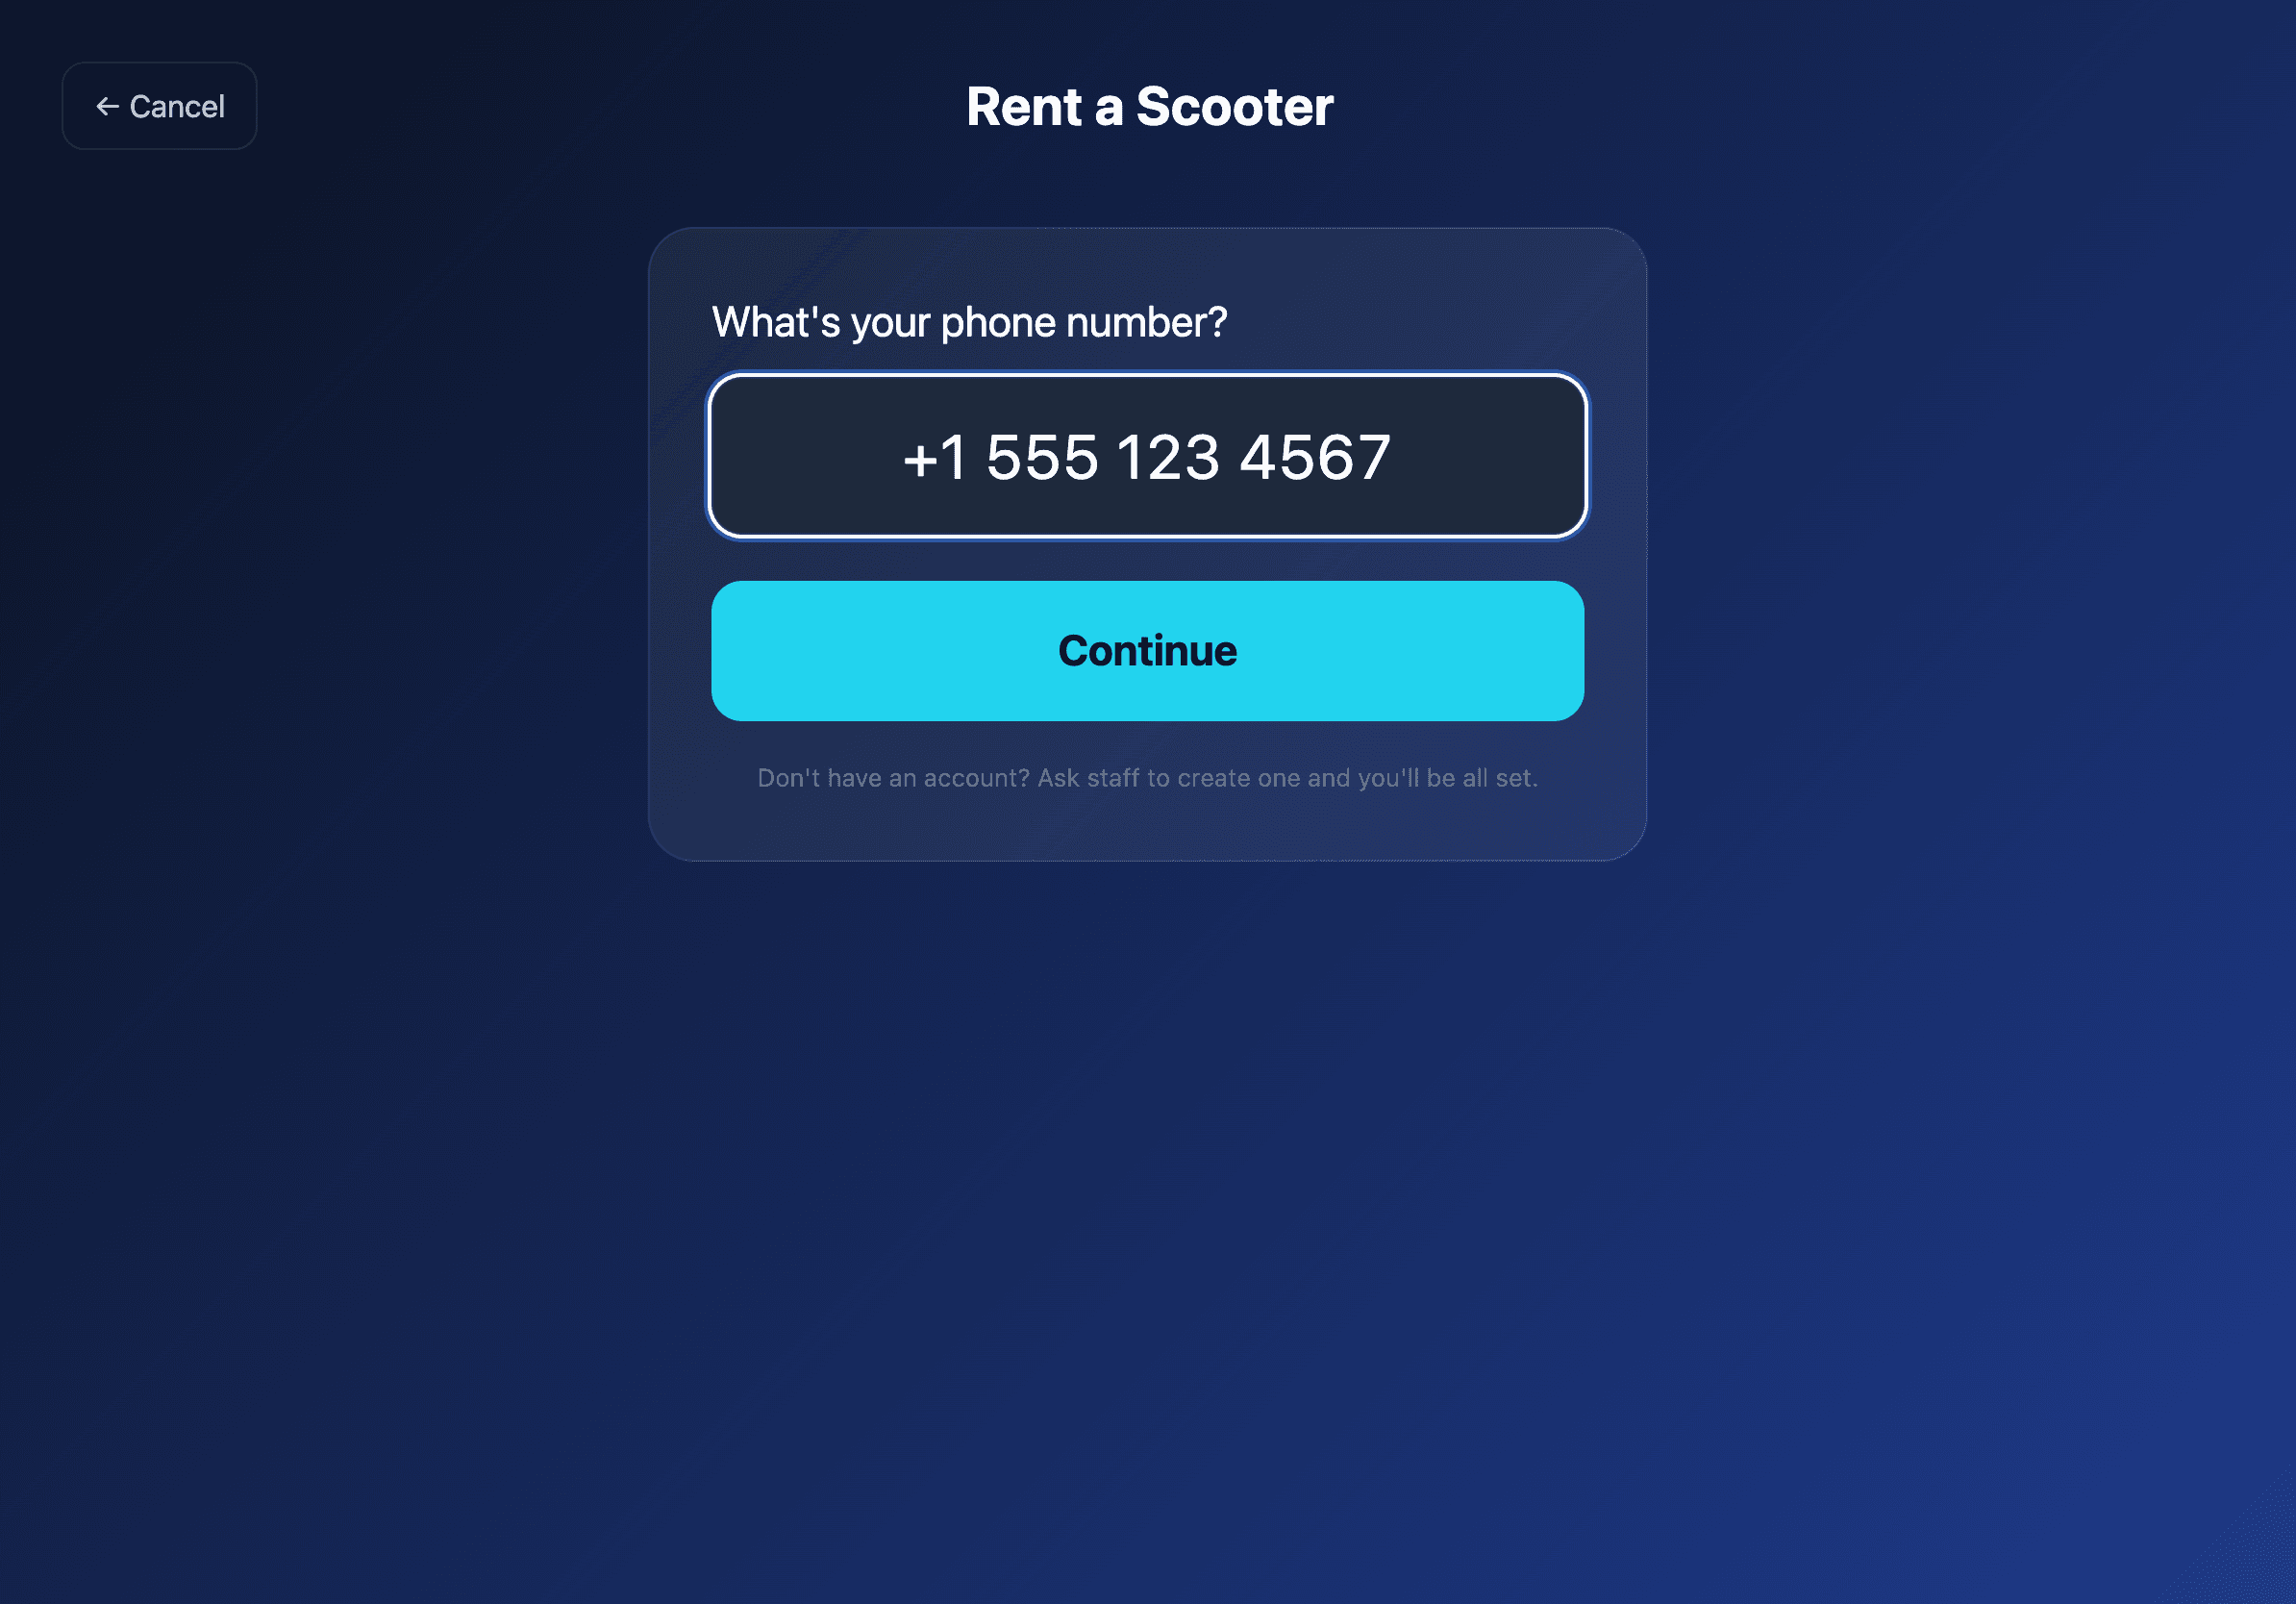
They type their phone number. Returning customers are recognized instantly; new customers should have an account created at the counter first (Phase B follow-up will add phone-OTP signup directly on the kiosk).
The kiosk shows the live inventory at this shop. Only vehicles that are available at this kiosk's paired location appear — other shops' fleets are invisible.
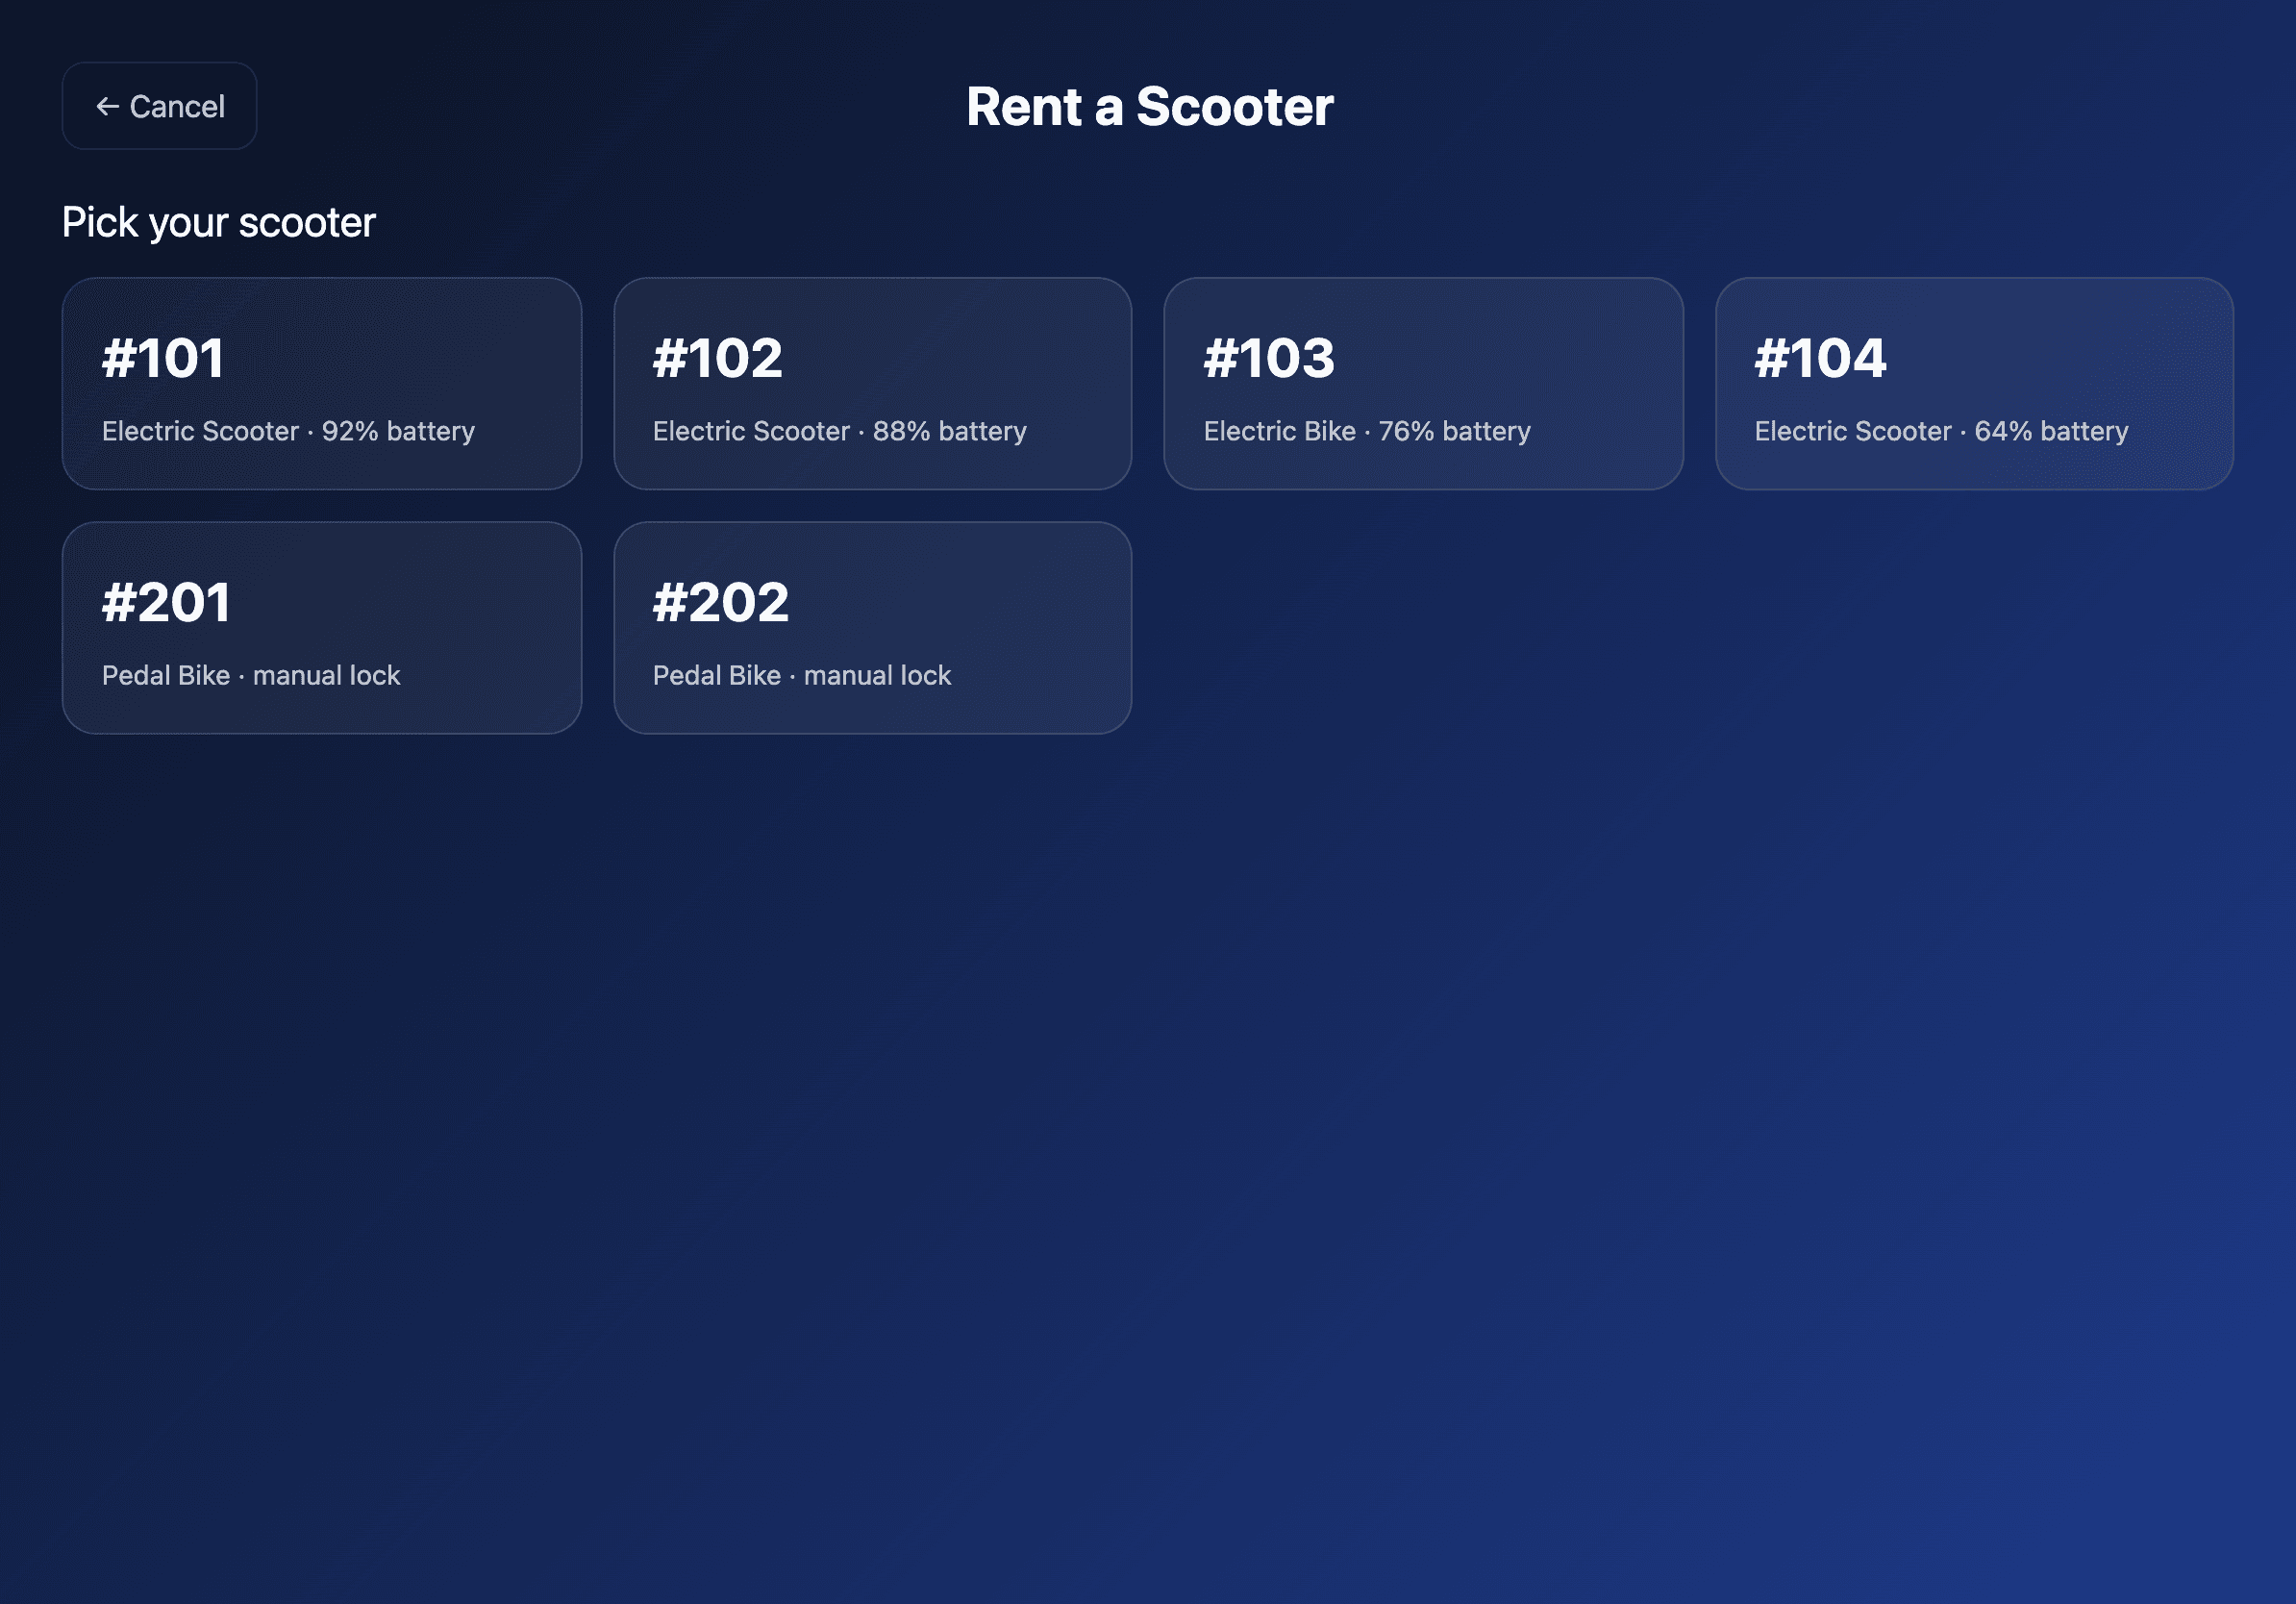
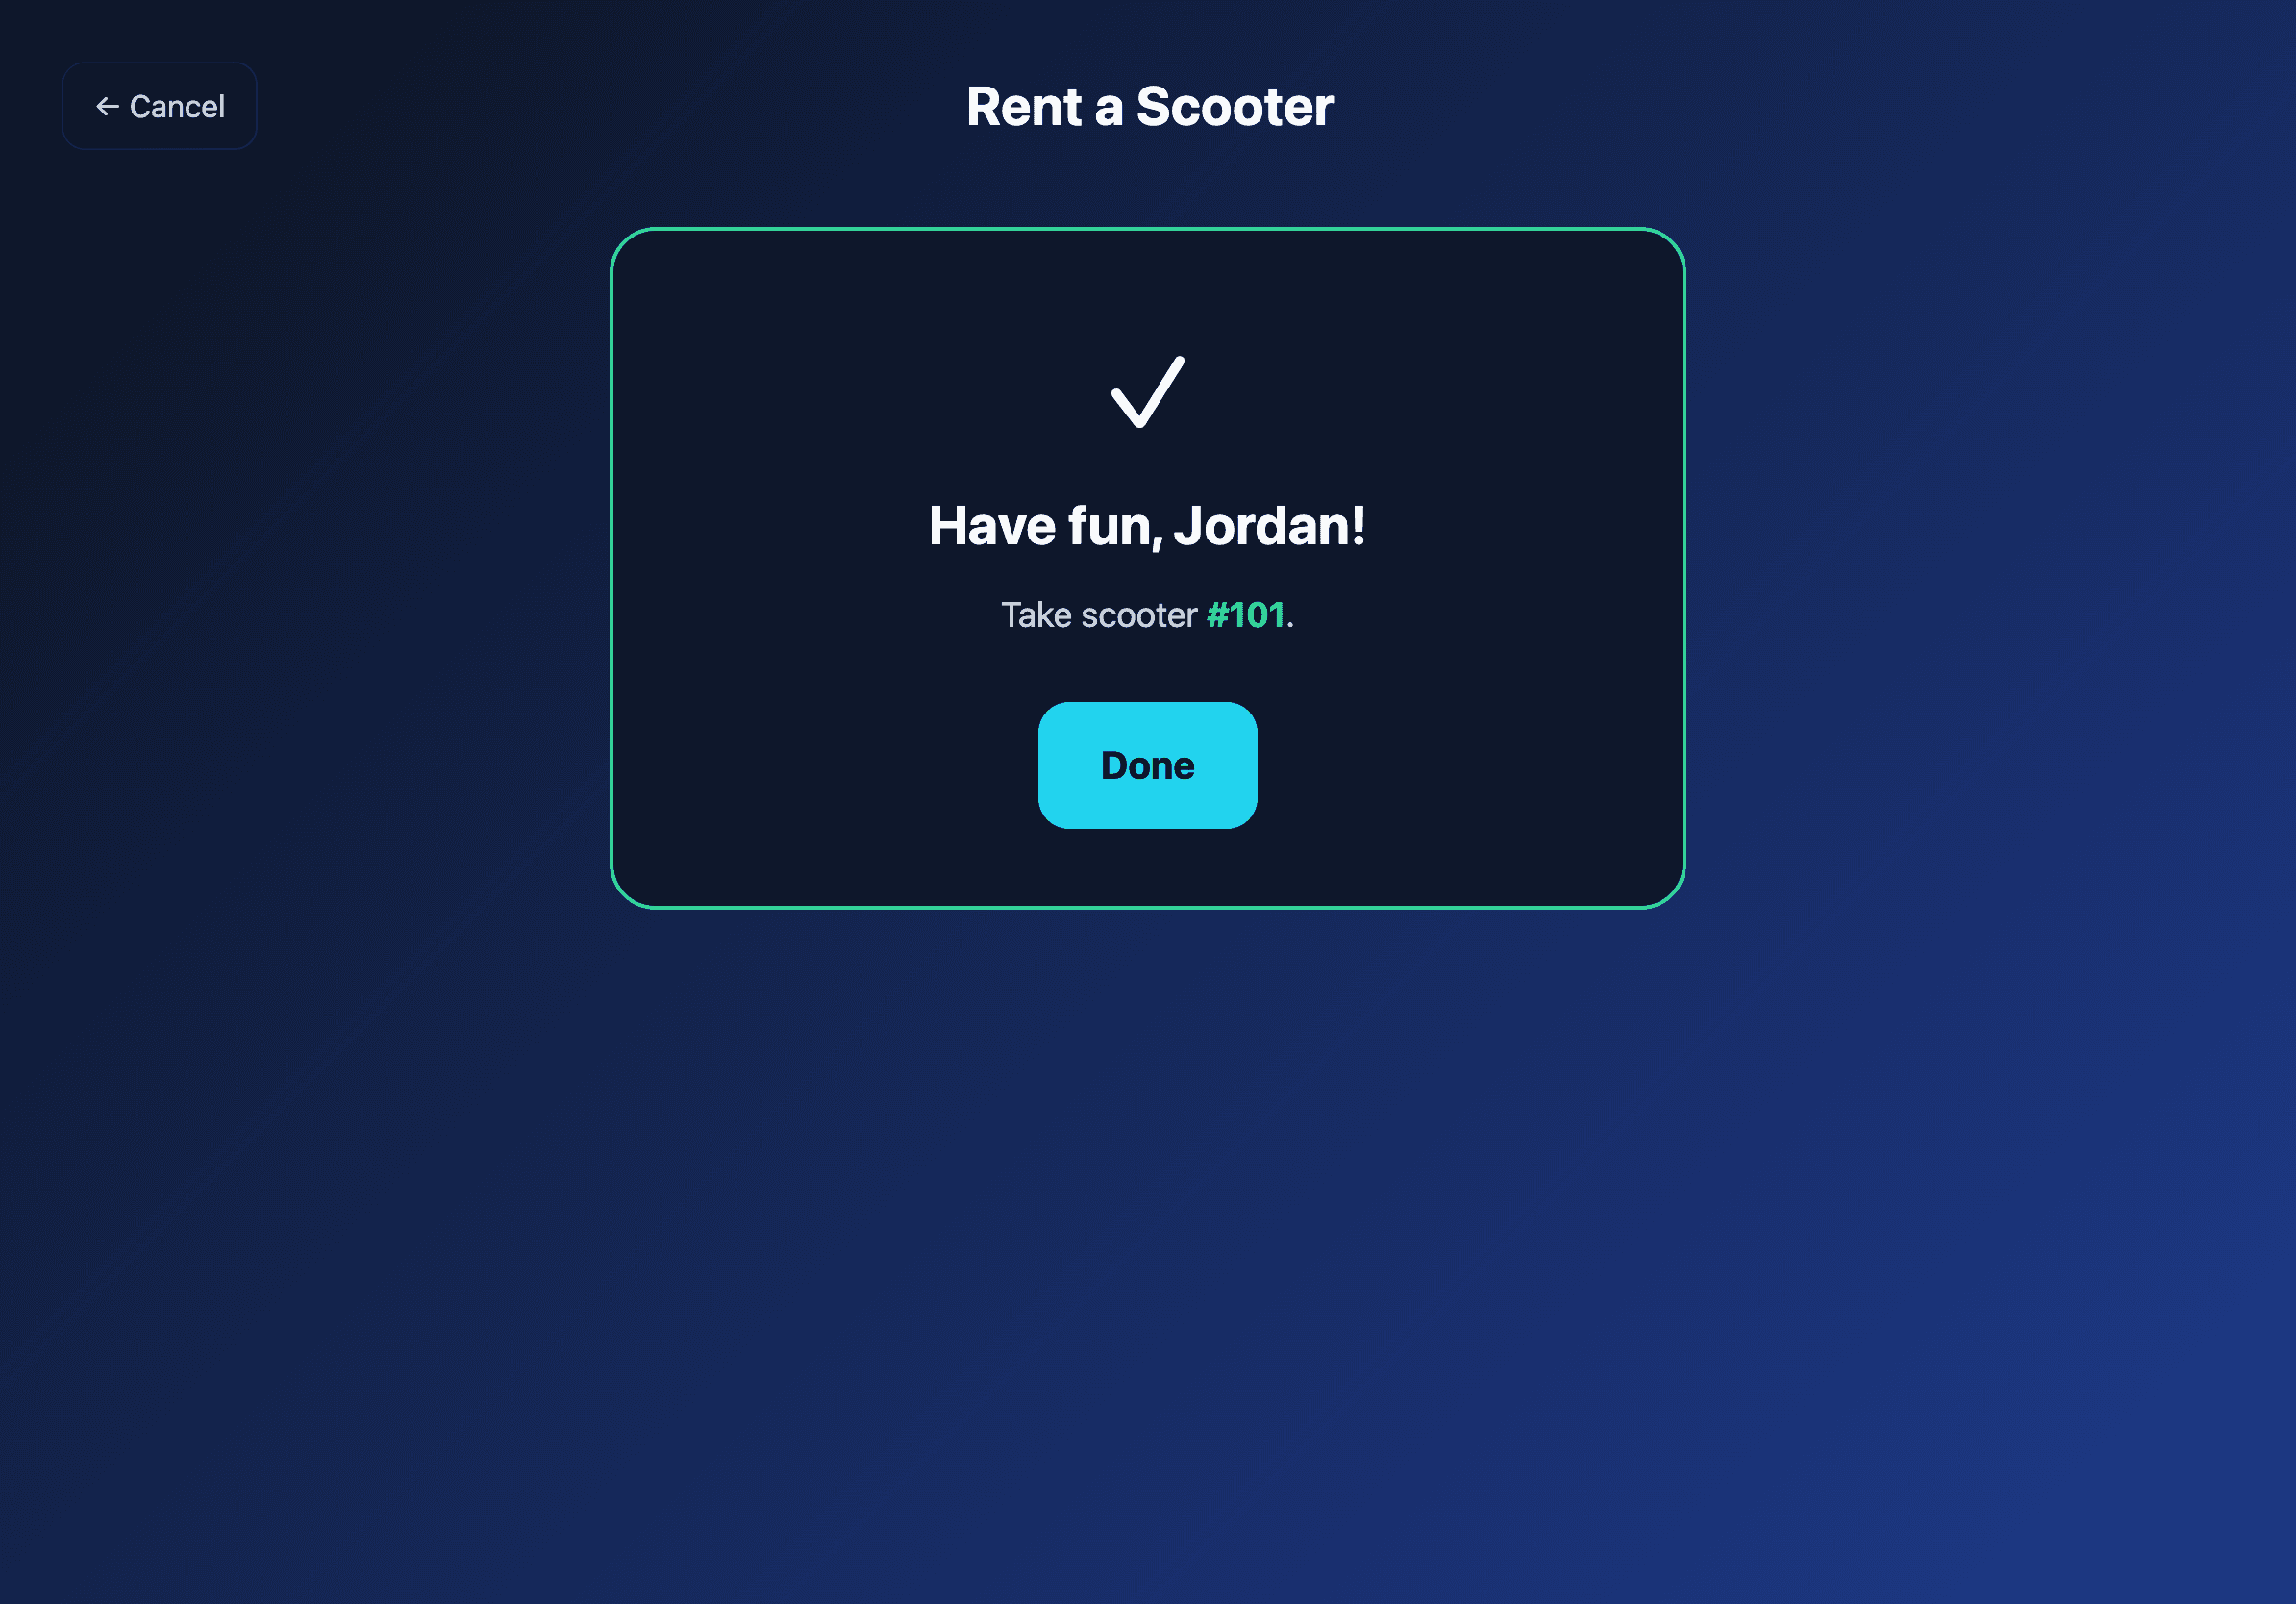
The customer taps a vehicle. The kiosk dispatches the IoT unlock command and creates the ride record. For IoT vehicles the success screen confirms which scooter is unlocked and ready.
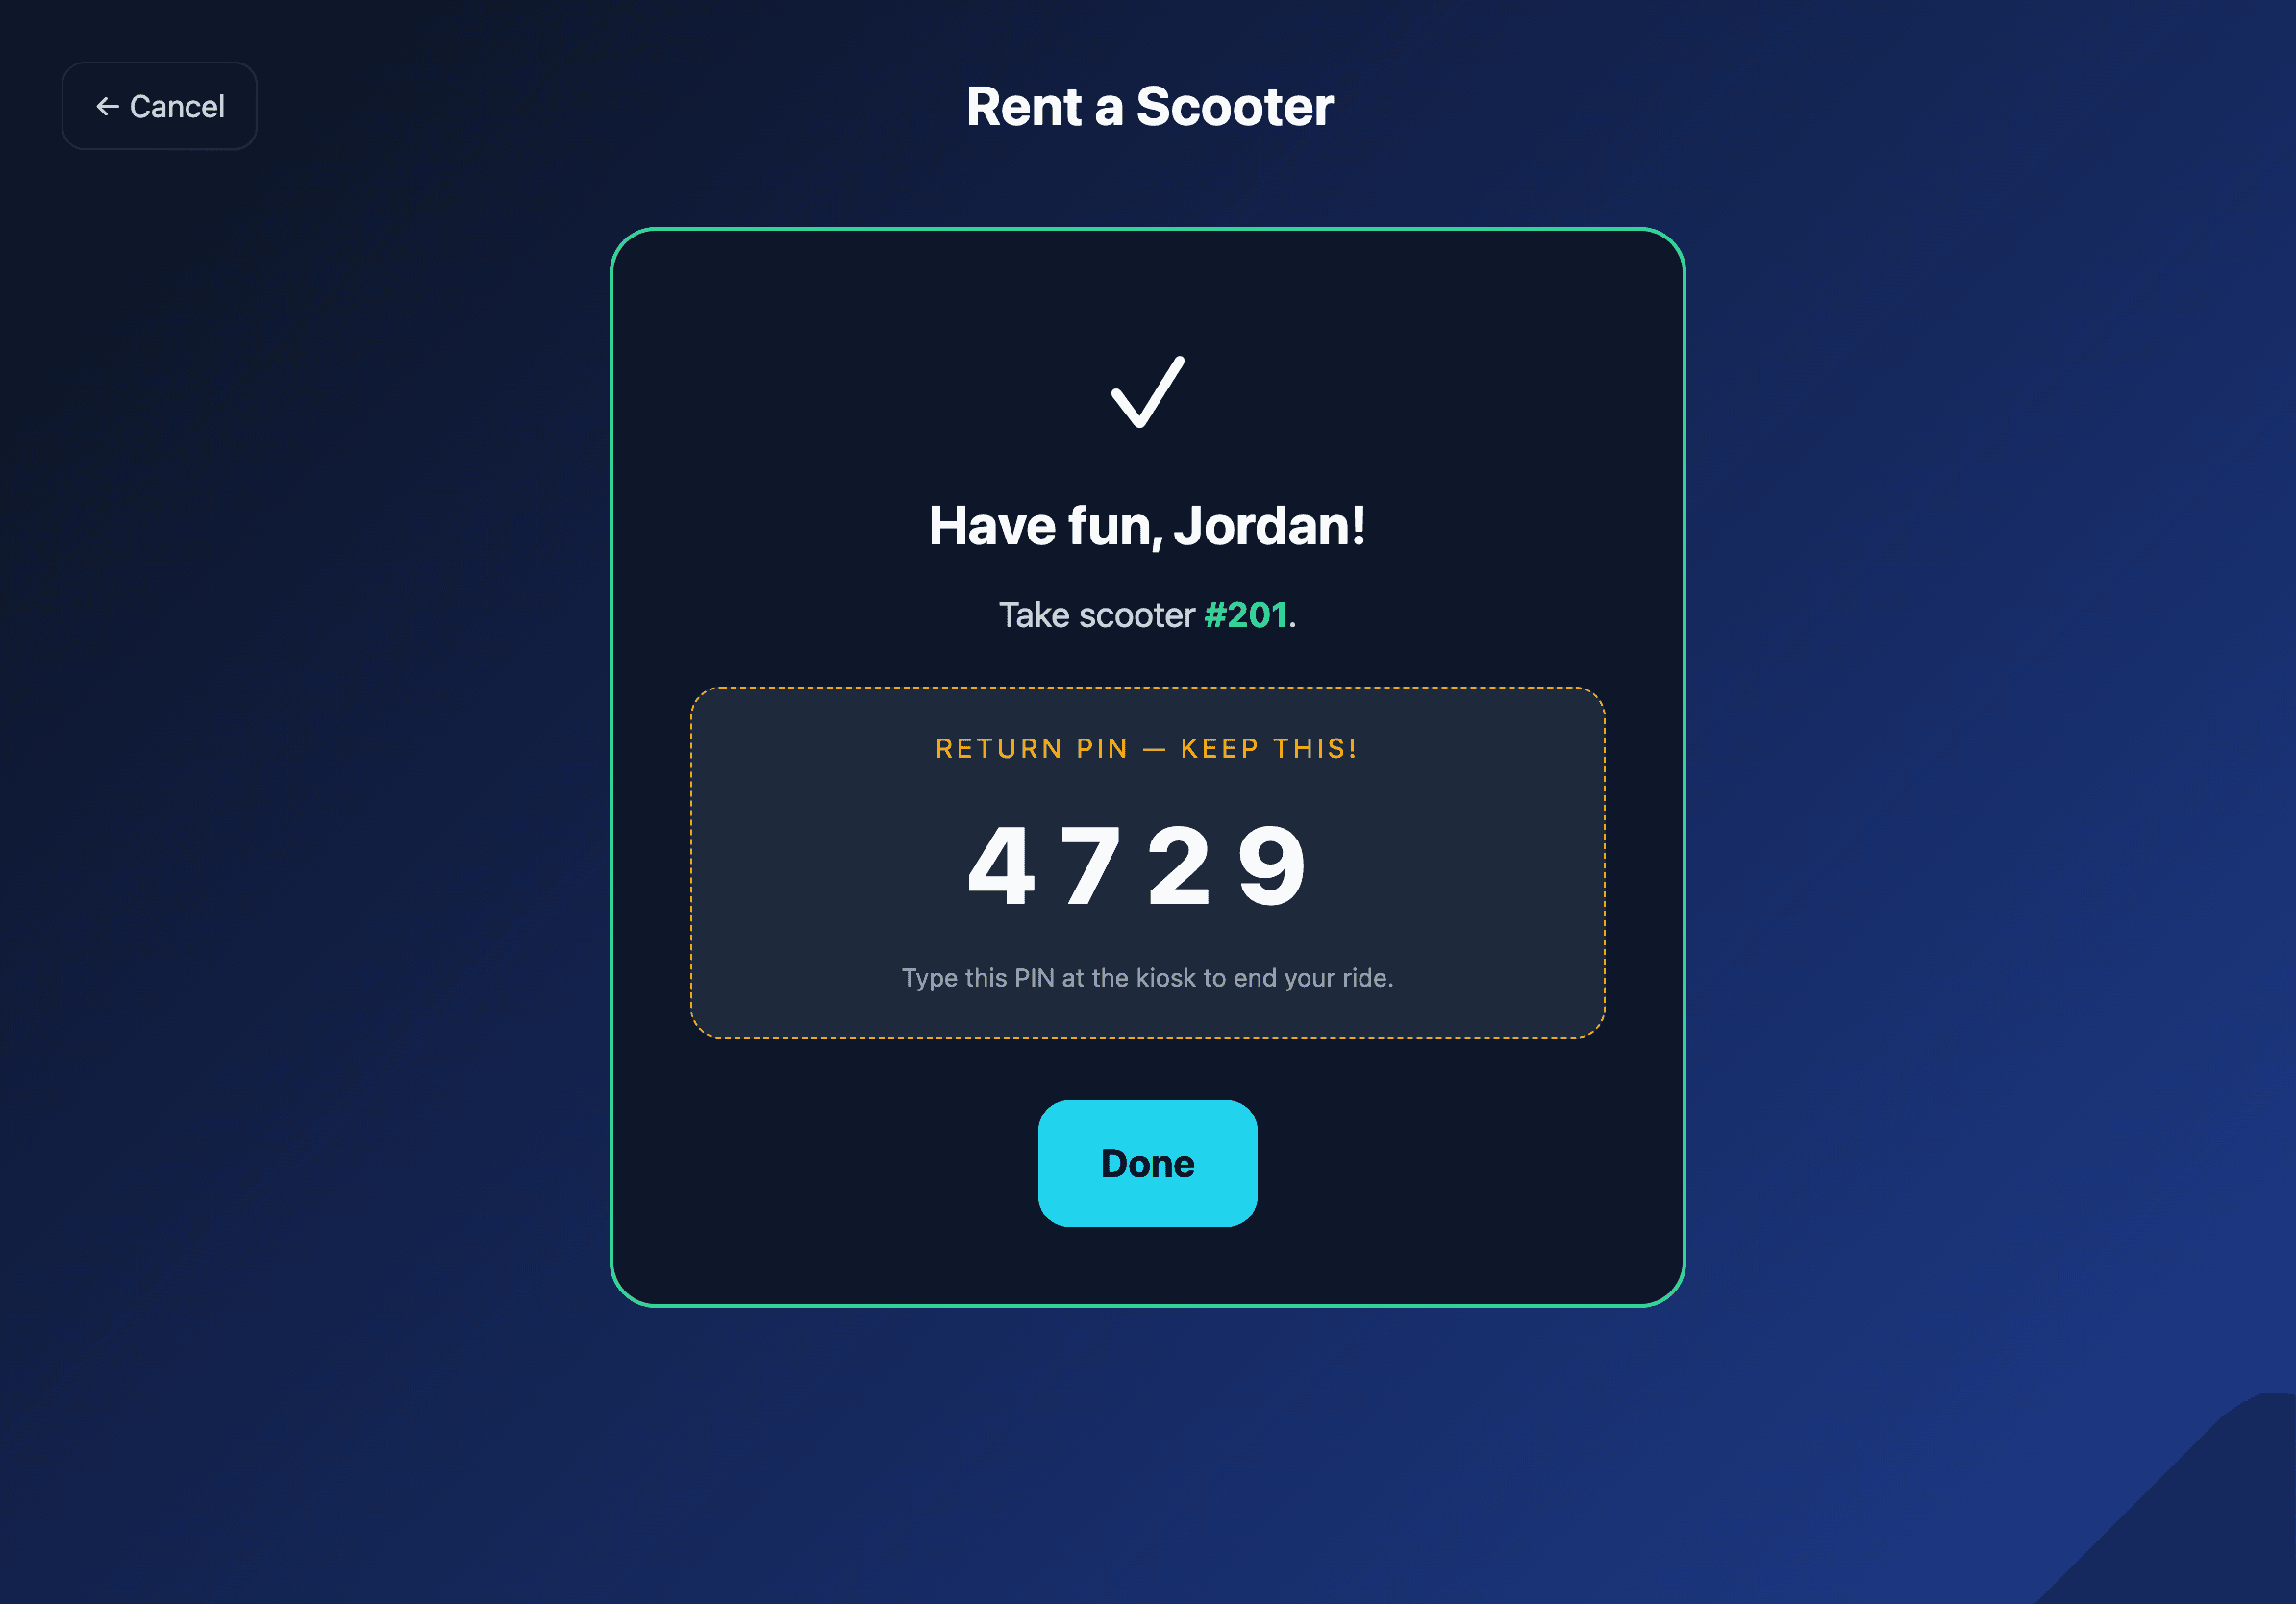
For non-IoT vehicles (manual-lock bikes, e.g. pedal bikes), the kiosk has no way to physically release a lock. Instead it shows the customer a 4-digit Return PIN they have to type at check-in. Staff still hands them the key.
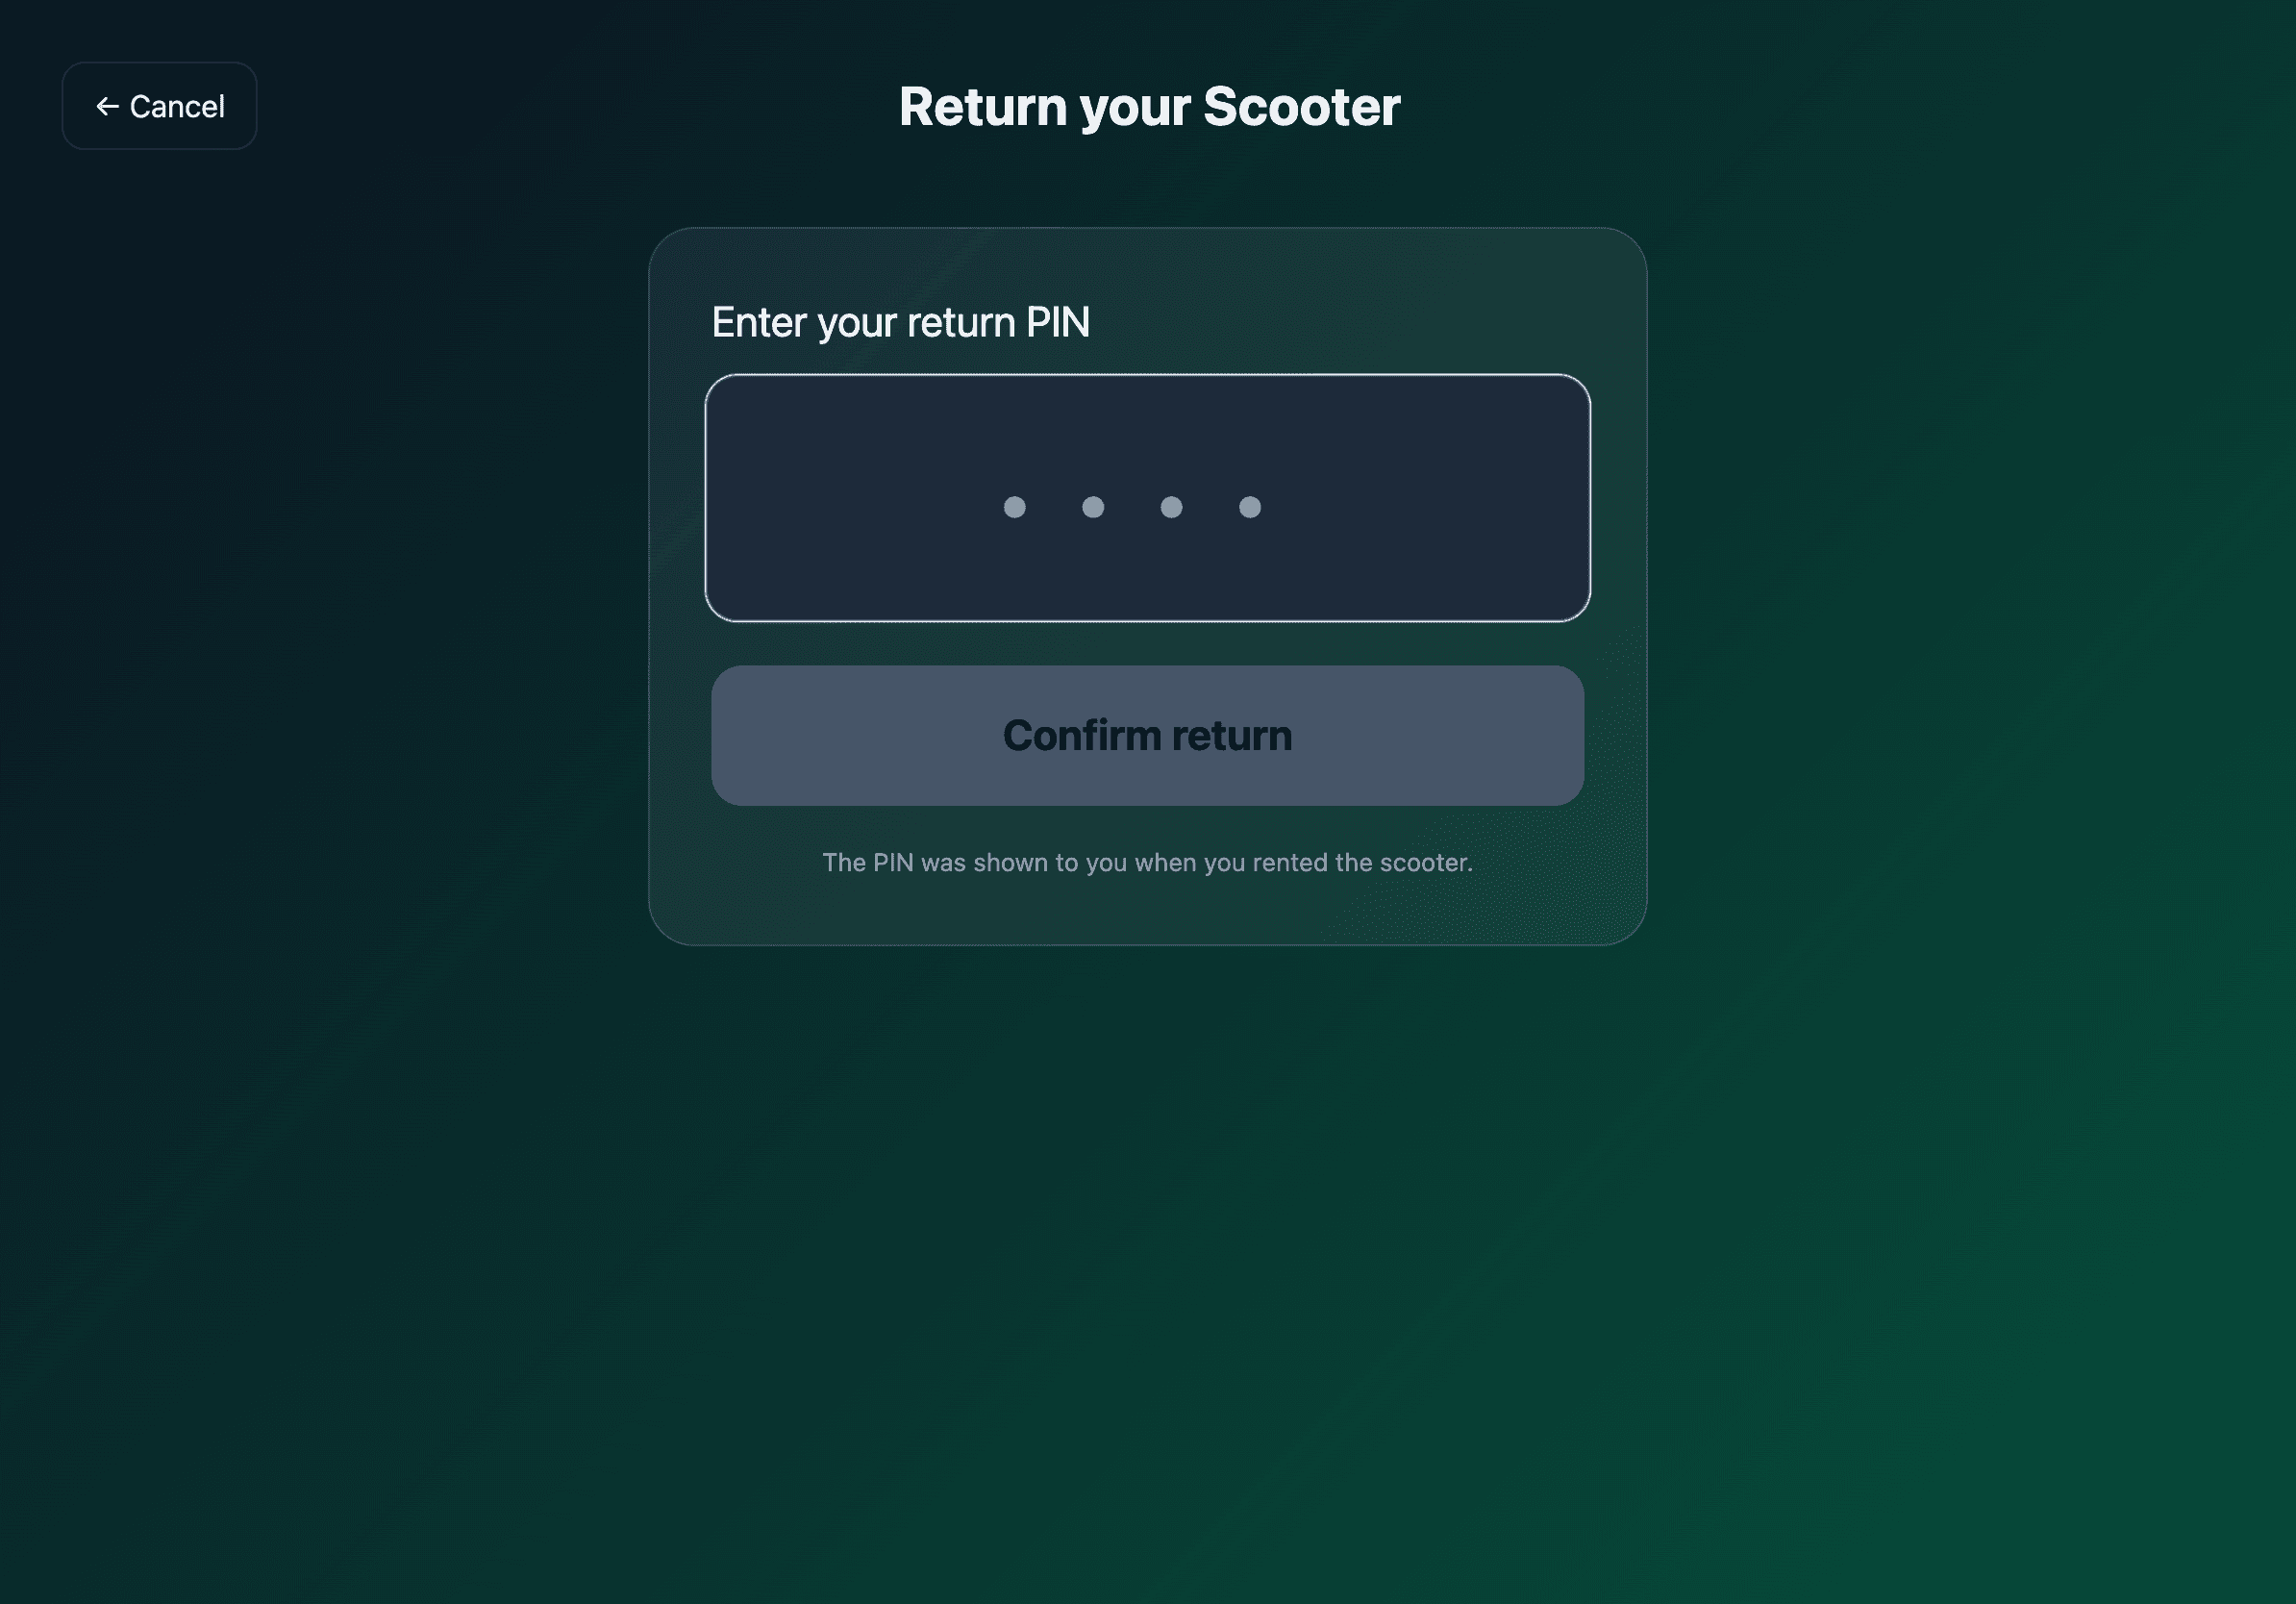
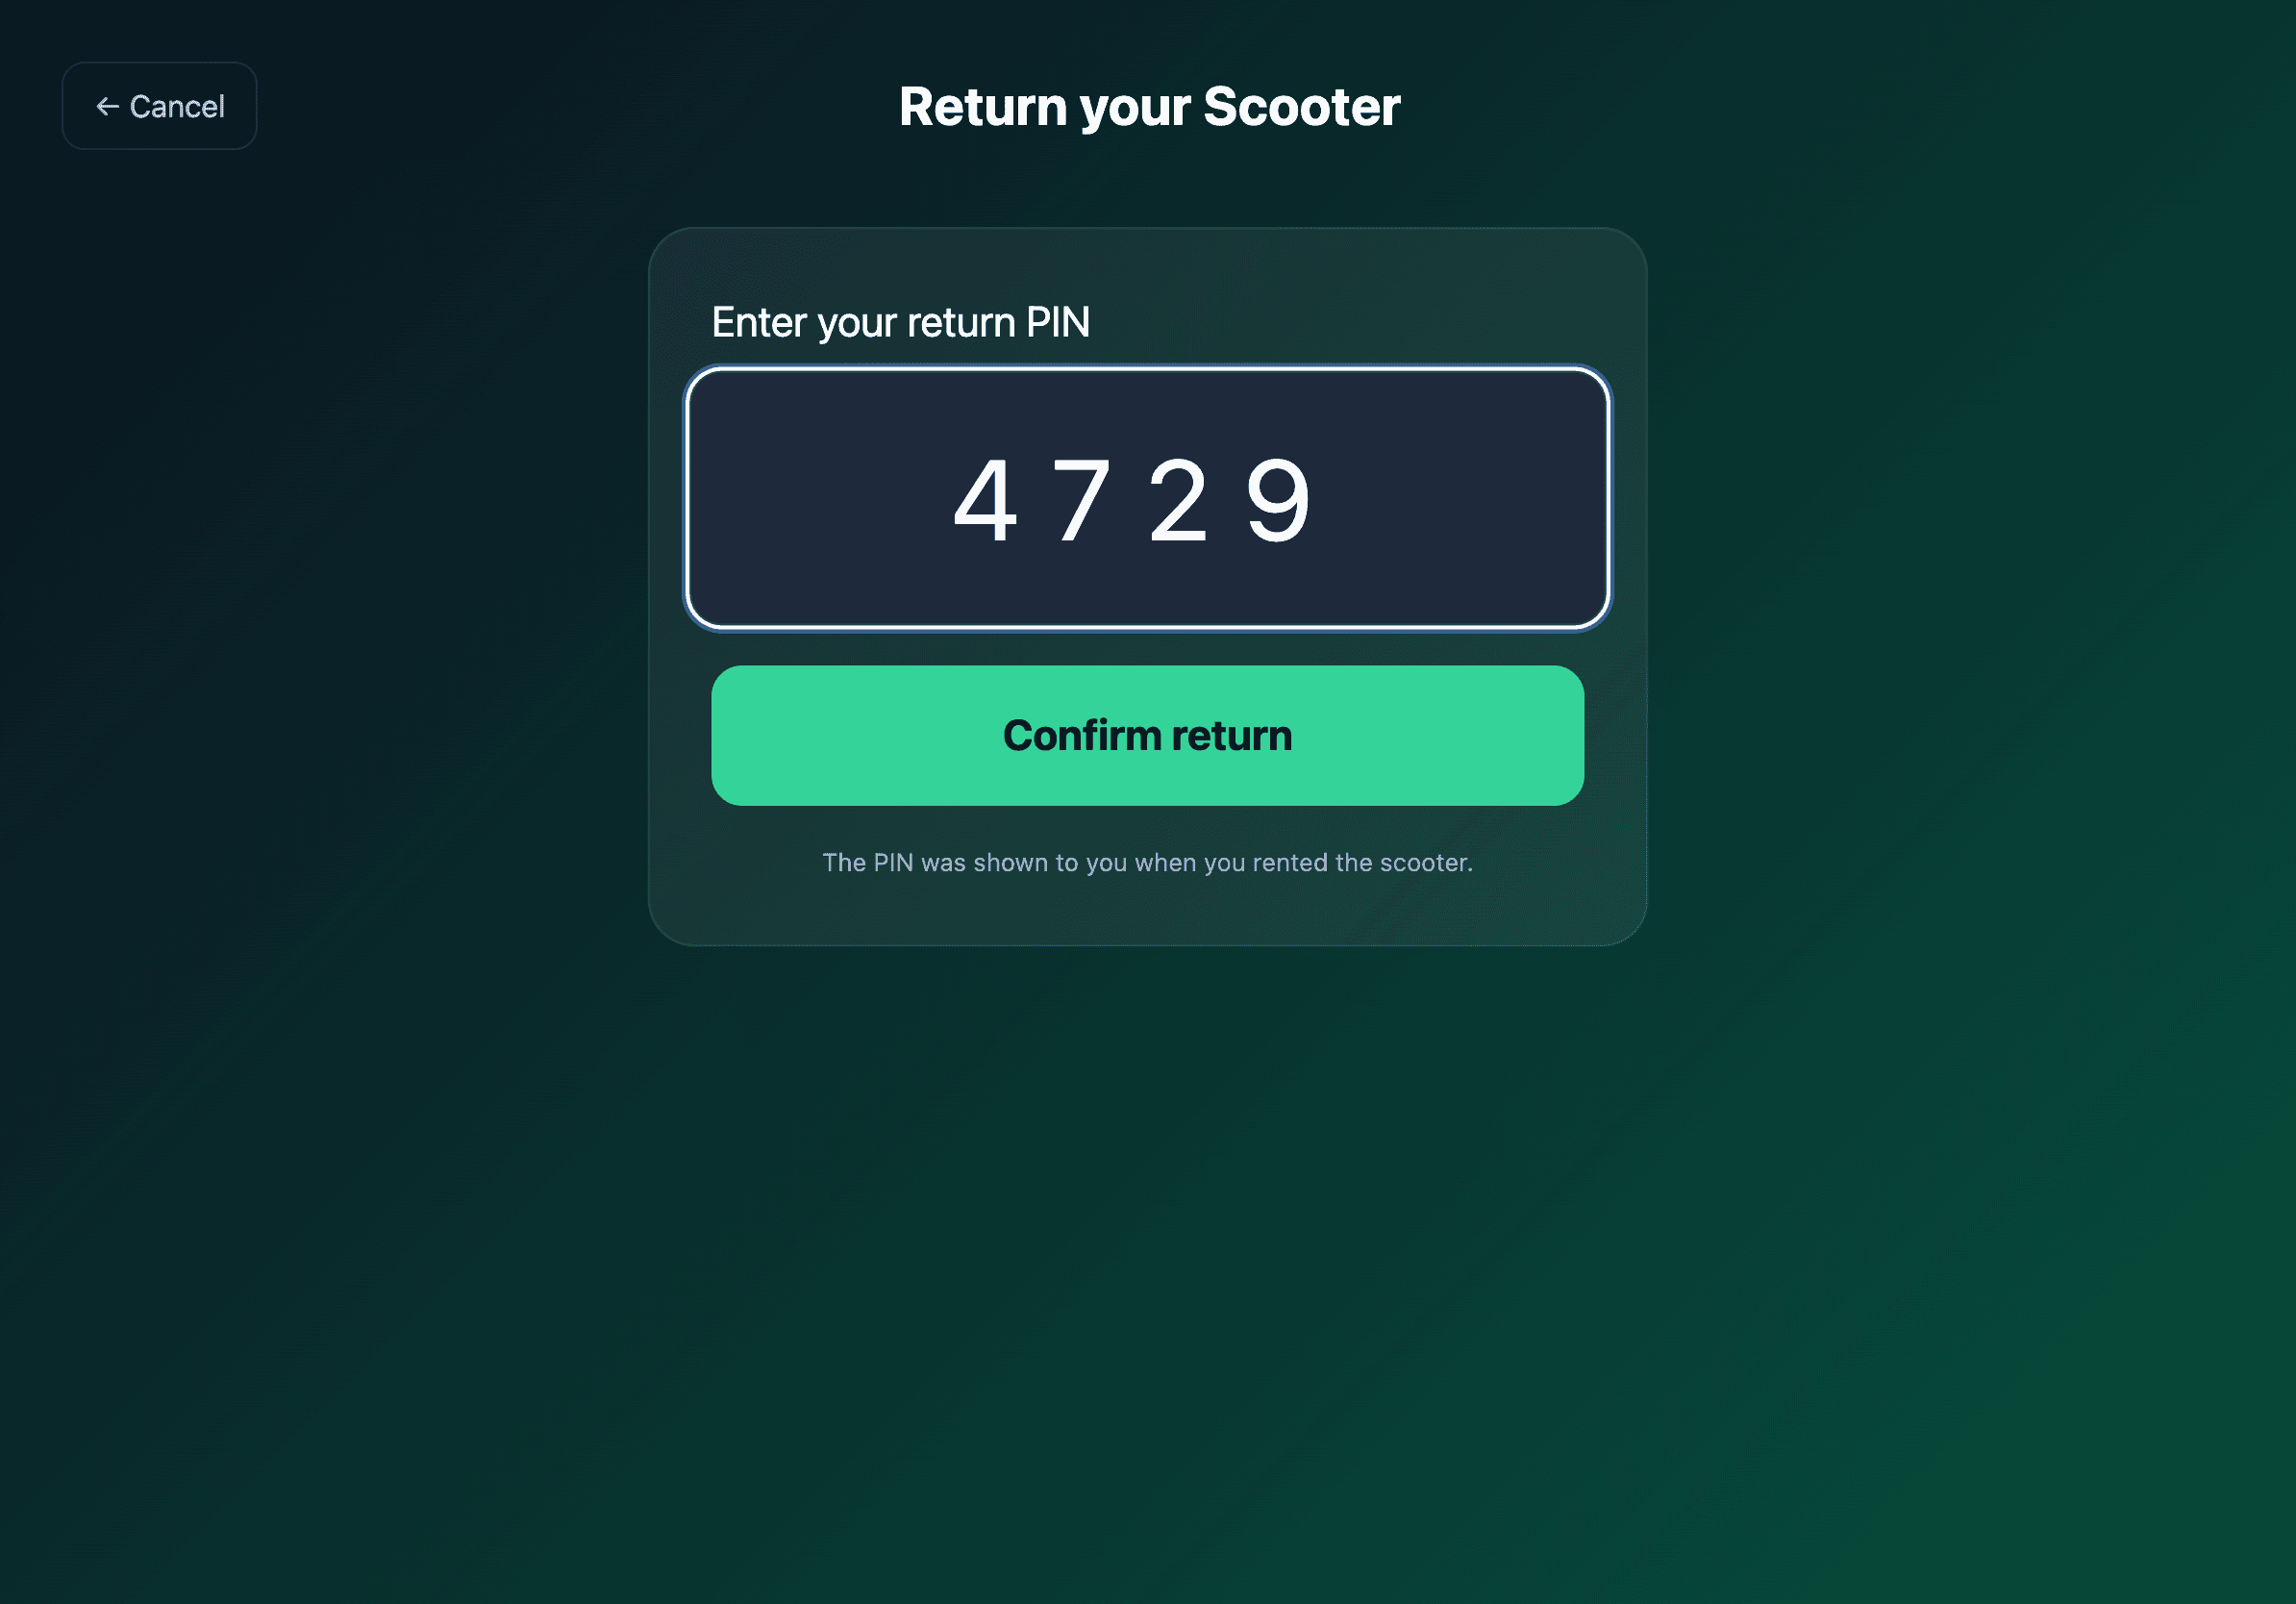
The return flow
A returning customer taps Return on the landing screen. They type their phone.
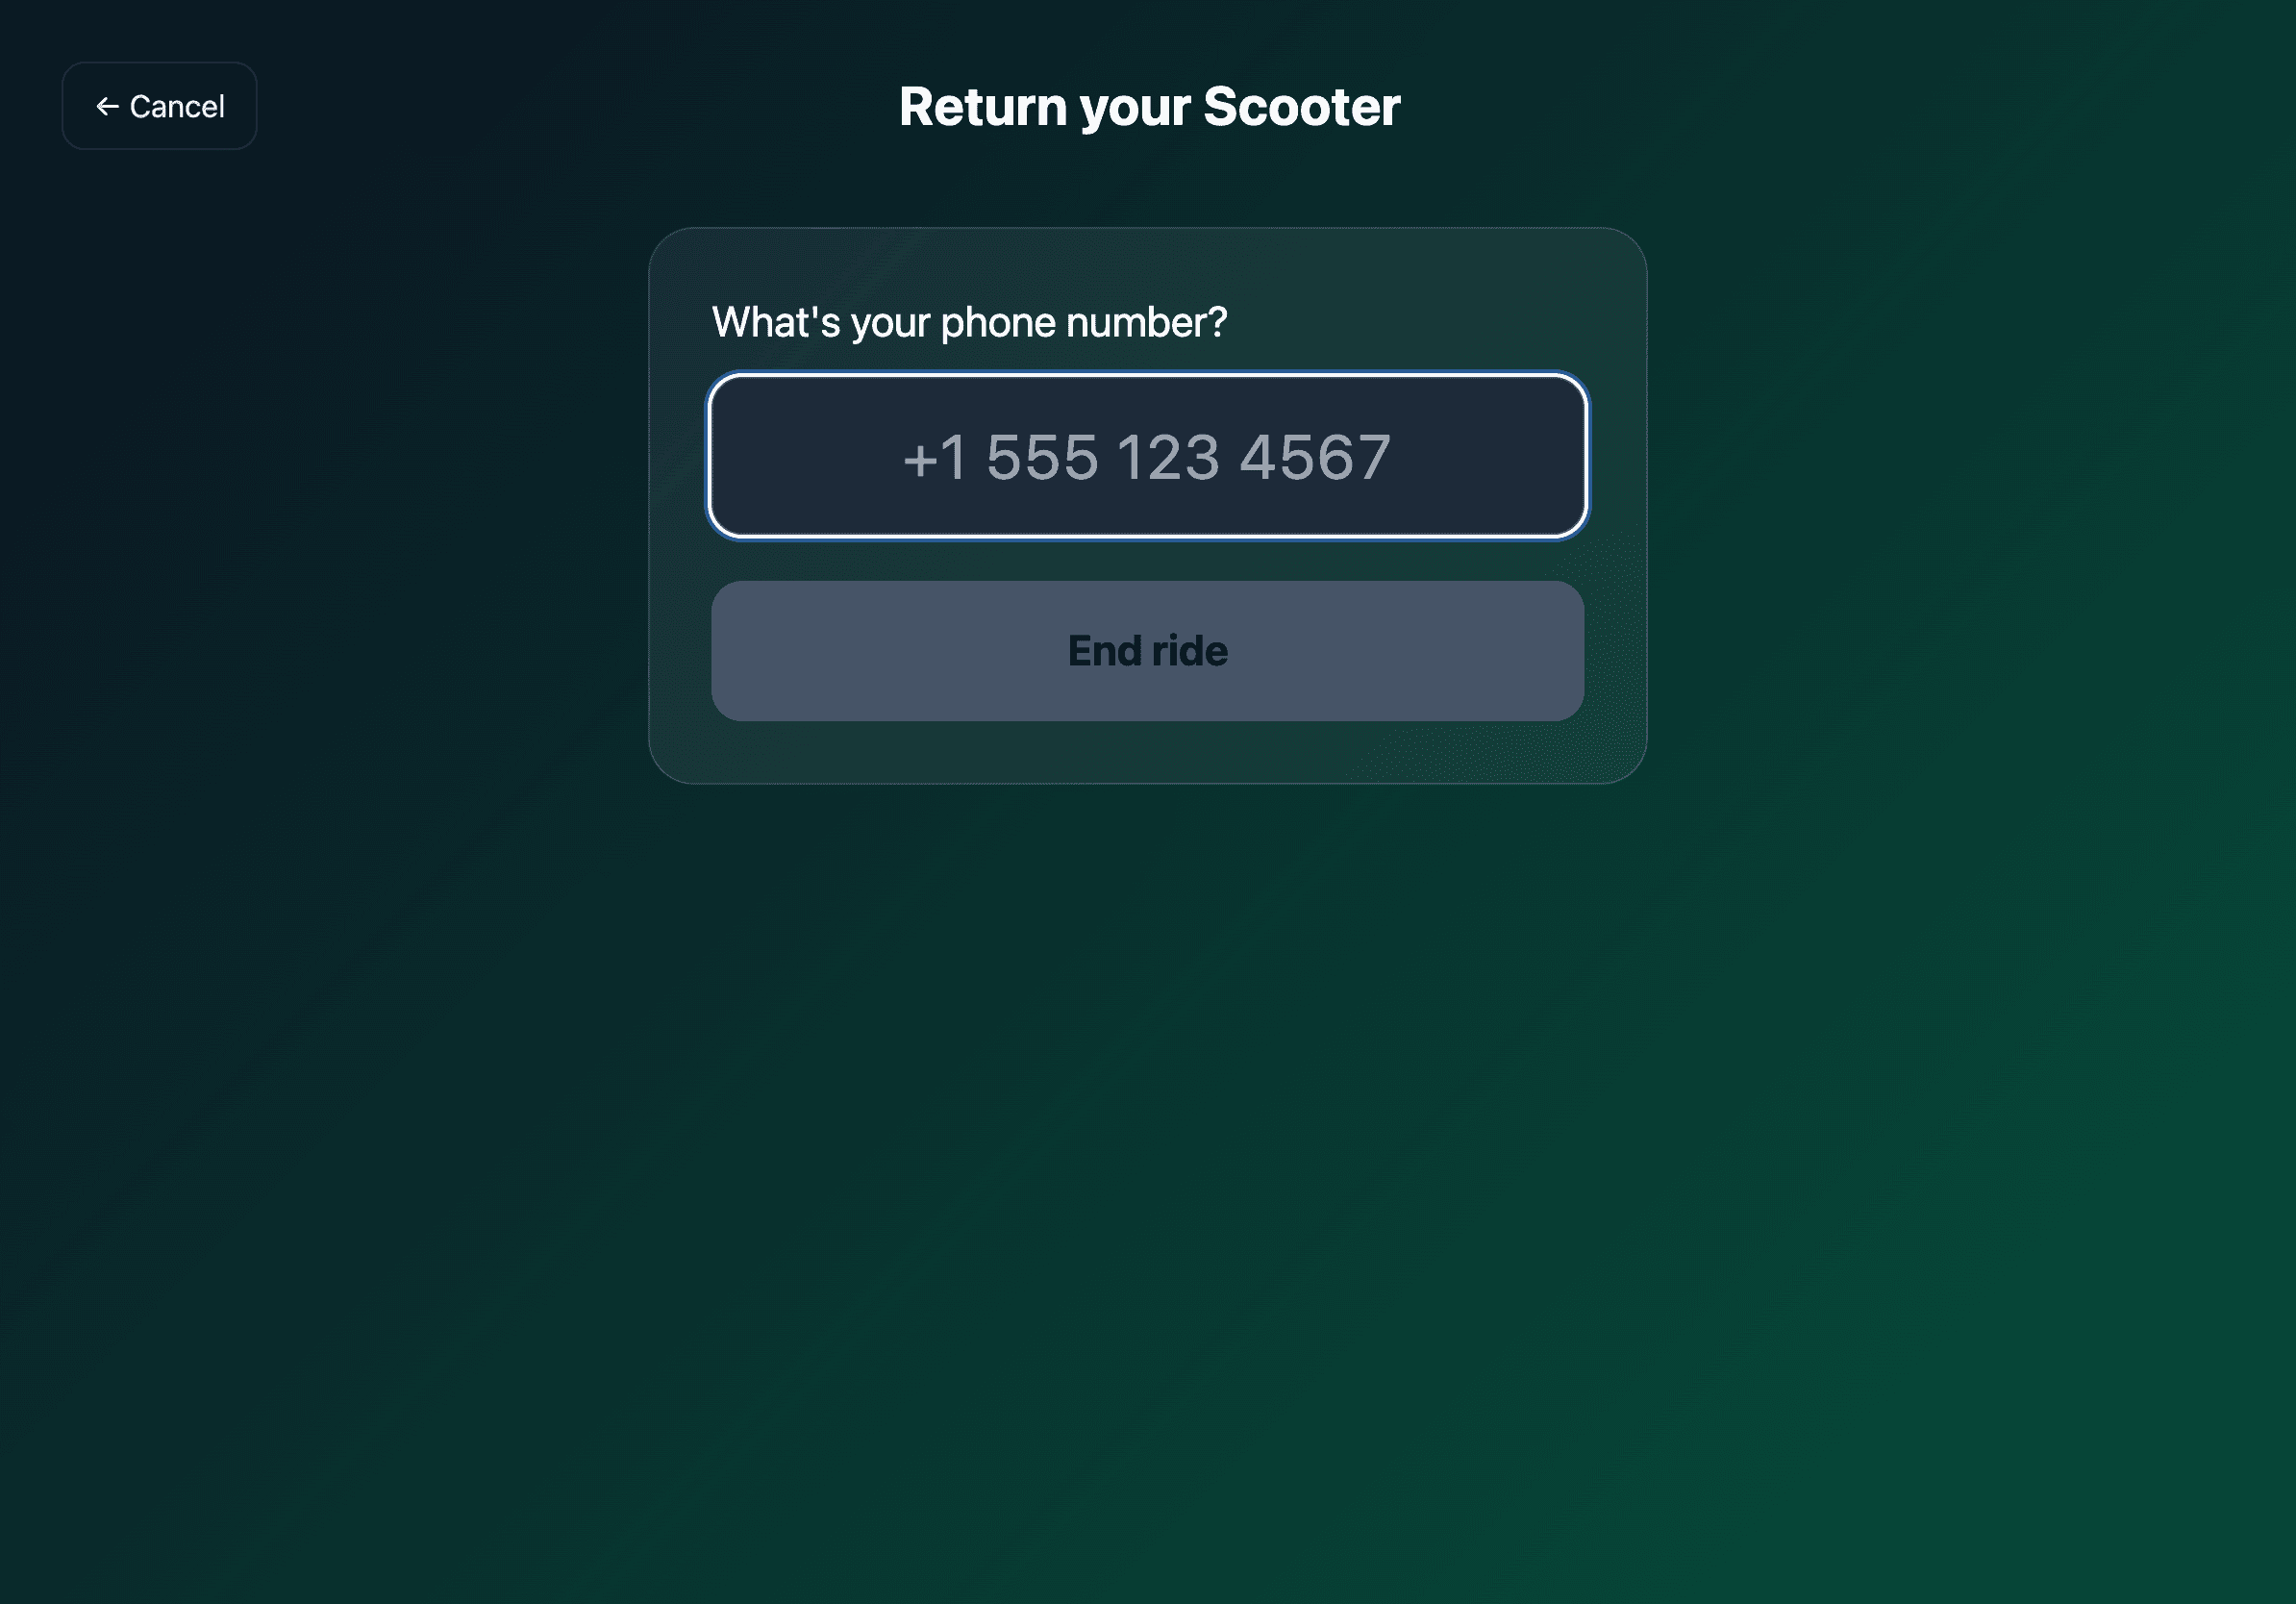
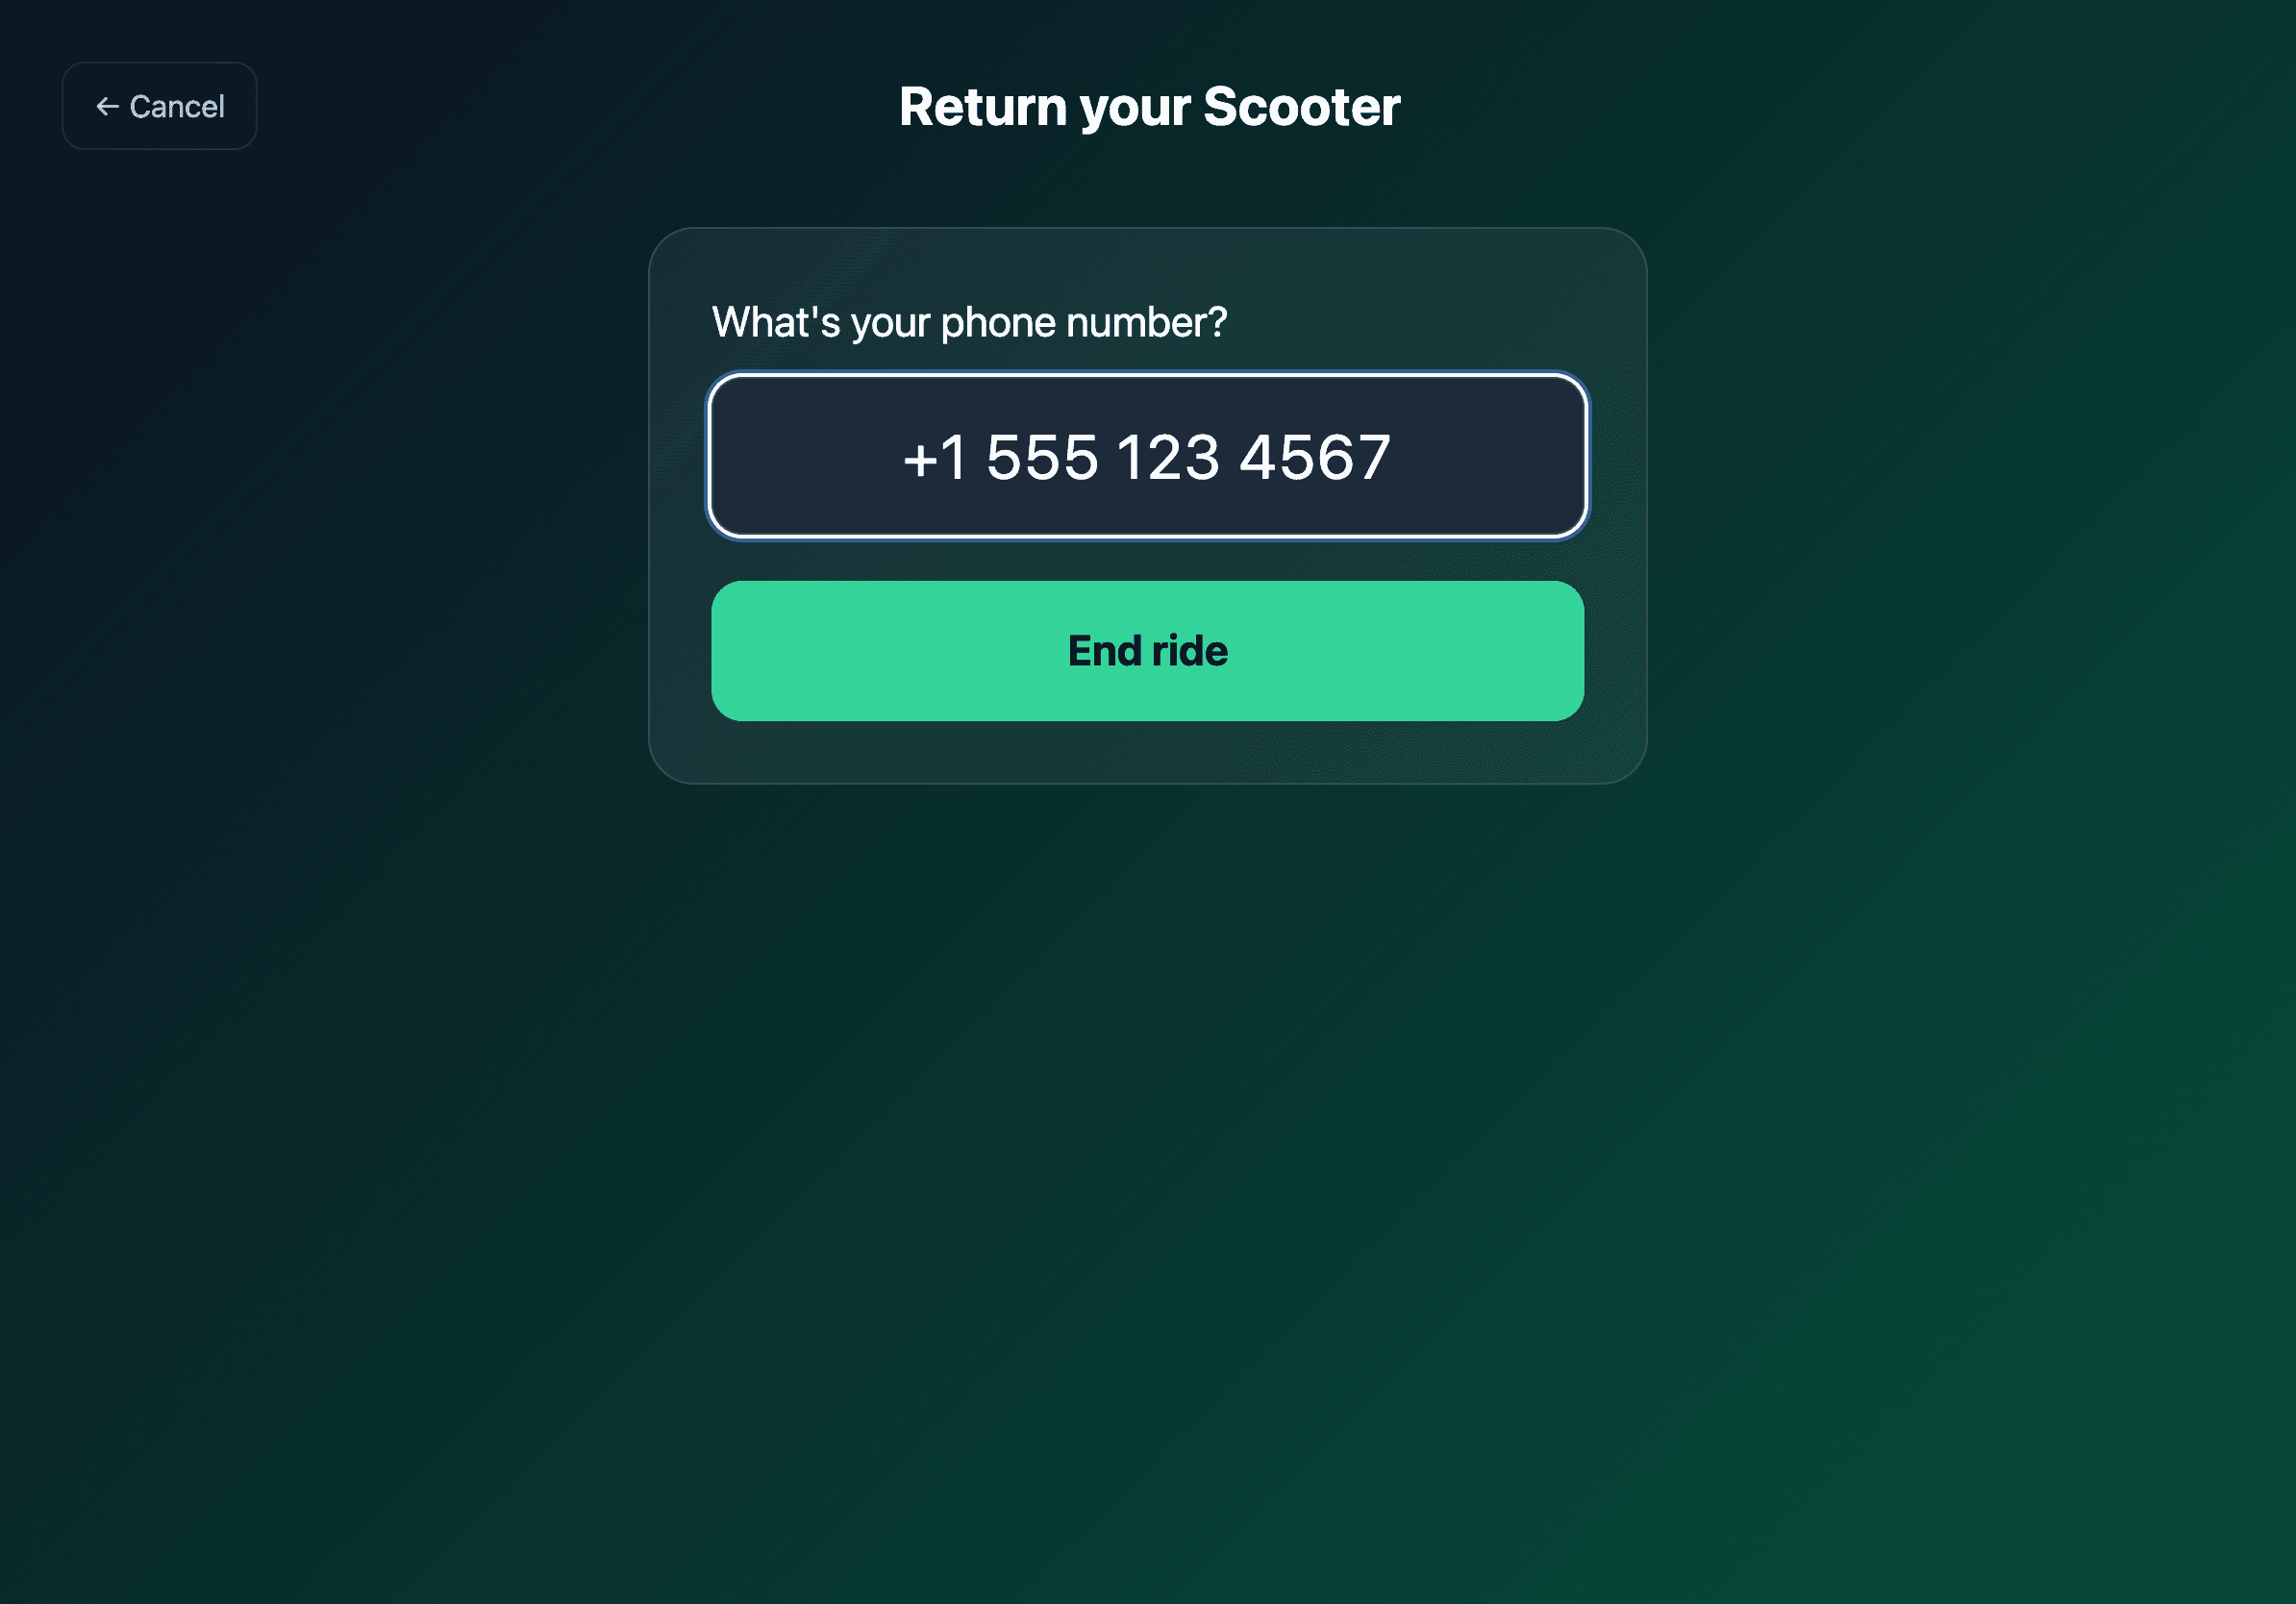
For IoT vehicles the lock command is dispatched immediately and the ride ends. For non-IoT vehicles the kiosk asks for the return PIN they got at check-out.
Success.

How it differs from staff POS
| Staff mode | Self-serve mode | |
|---|---|---|
| Audience | Counter staff | Walk-up customers, unattended |
| Layout | Multi-step console with side panels | Two big tiles, single column |
| Tone | Operator/inventory language | Customer-facing language ("Have fun!") |
| Card entry | Manual, cash, or Stripe Terminal | Automatically inherits the device's Terminal setup |
| Refunds & overrides | Available | Hidden — ask staff |
| Hidden controls | All | Only what a customer needs |
Both modes use the same pos_sessions pairing, the same Stripe Terminal reader, and the same reservation pipeline — only the surface differs.
Limits and what's coming
This is the v1 of the self-serve kiosk. A few things ship in follow-up passes:
- Phone-OTP signup on the kiosk. Today new customers need an account created by staff at the dashboard first. Phase B2 will add an SMS one-time code flow so anyone with a phone can sign up at the kiosk in under 60 seconds.
- Stripe Terminal on the self-serve flow. v1 assumes the customer's card is already on file (created via the mobile app or dashboard). Phase B2 wires Tap to Pay into the walk-up flow.
- Waiver signature on the kiosk. Today the agreement is captured on the dashboard at customer creation time. Phase B2 adds a canvas signature step before the unlock.
- Idle timeout / abandoned-cart sweep. If a customer walks away mid-flow, the next person sees a fresh kiosk after 90 seconds.
Troubleshooting
The kiosk is on the wrong screen (staff console / landing). From the dashboard, go to Bookings → iPad POS and toggle the device's self-serve switch. The iPad picks up the change after its next pairing refresh — quickest path is to revoke + re-pair.
"No customer found for that phone number." The phone isn't in the database yet. Have the customer create an account on the mobile app, or create one for them from the dashboard.
"Vehicle could not be unlocked." The IoT command timed out. Often the vehicle is in a no-coverage spot. Wait a moment and try a different vehicle, or pair the rental at the counter using the staff console.
"Vehicle does not belong to this shop." The kiosk is paired to a different pickup_location_id than the vehicle. Either move the vehicle, or re-pair the kiosk to the right location.
Related articles
- iPad POS Setup — pair an iPad, set up Stripe Terminal, and configure receipts.
- iPad POS Workflow — the staff-mode flow for counter checkouts.
- Bookings Widget Overview — how the whole booking surface fits together.